Saturday, November 9, 2013

Making Terrain for Fall In, Part 1

The wargame convention Fall In is approaching and I am running 2 games at this con. And running out of time.

The first is The Battle for the Fords of Isen. This is a LOTR battle using Games Workshop Strategy Battle Game rules. For what I have in mind I have to paint/ build a lot of things to flesh out my 2 battles. Buildings/terrain/ terrain accessories/ figures/ etc. I am literally working on about 10 things at once. I do one part on say a building and while the glue is drying, I am painting something else, then, making some terrain. I've done more painting/building in the last month than I have all year.

First up, building the first battle table top.

 The basic terrain will be foam insulation covered by felt battle cloth.  I layout random chunks of foam I have from other projects. I draw out a rough course for the river.

With a large knife I hack out the basic shape and an island for the middle of the ford. Will Théodred fall here like he does in the story? Or will Rohan win the day?

I further refine the river edge and carve a sloping bank into the edge. After layout the pieces I tape them together and use them as large stencils to mark out the patter to cut the blue felt that will be the river.

I trim the blue felt to the pattern. Lay down the my battle mat, press the felt into the banks. The river felt fits nicely into the recess formed by the battle mat over the foam insulation. This gives me a more realistic sunken river than just laying the felt along top.

This is just one of the many many projects going on for my 2 battles. I will update with more WIP posts.

Xin

Saturday, November 2, 2013

The Abbot's Gold, A Saga Battle Report


Ragnar and his boys were here for the Abbot's gold.


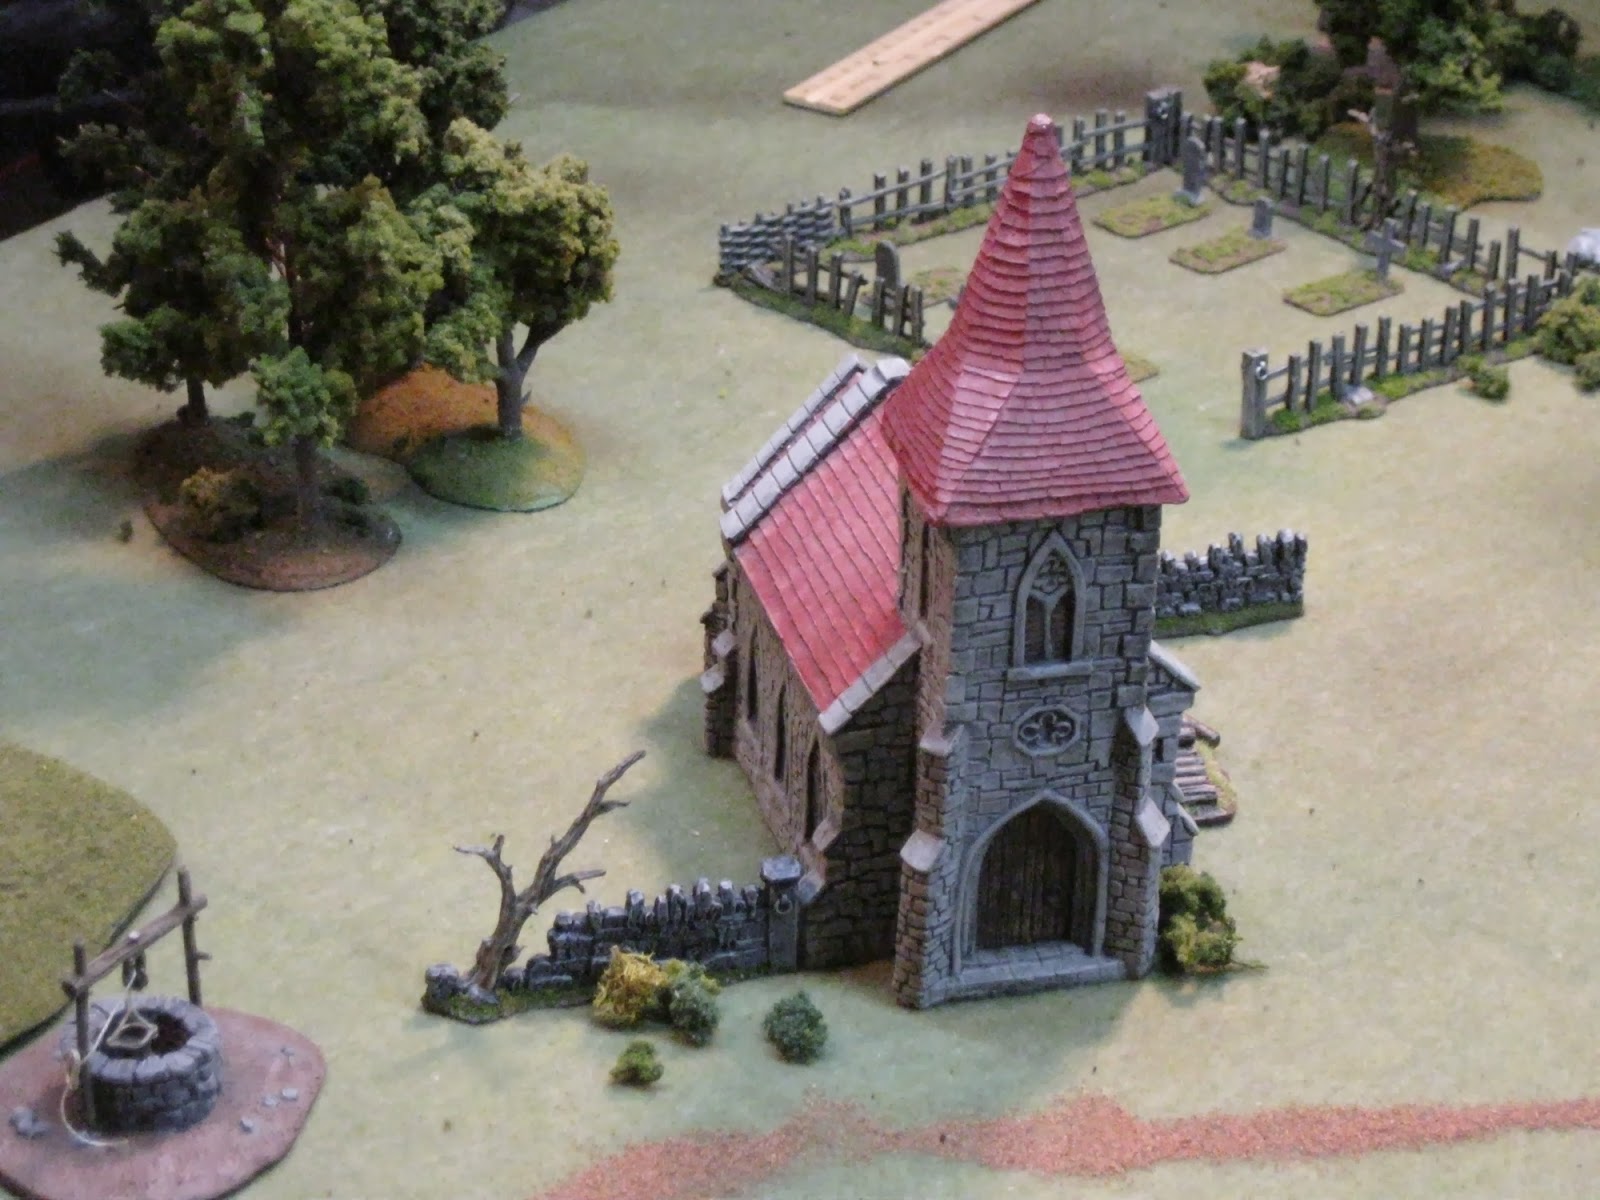
My friend and I had our 2nd game of Saga. It was a 4 point game, Saxon vs Vikings. That's all we have painted at the moment, but more on the way. We just quickly tossed out some terrain, then came up with a scenario based on the terrain. Vikings need to plunder the Abbey and get the gold off the table. Saxon's need to protect the church or stop the Vikings from getting away with the gold.


 The Saxon Warlord Wulfric and his Warband emerge from the woodline.


 The Ragnar's ragged warband march up the road intent on plundering the Abbey


The Big Picture


The Saxon's Advance led by their Warlord.


 The Vikings Advance. A Hearthguard unit sprints out in front.
 

Both sides closing around the Abbey.


Viking point of view looking at the Saxon Shieldwall. The Berserkers in the foreground are not impressed.


My Saxon Warlord takes one unit of Warriors around the back of the church leaving 2 units of Warriors to hold the Shieldwall.


My Warlord, supported by his own Warriors charges into the Viking Warriors!


Using Bretwalda and one of the extra attack dice abilities, I see off the Vikings. They used Valhalla(I think) for the extra dice, but my increased Armor and rerolls of failed saves just gave me free kills. Even if I had taken a hit, my Warriors were there to "Look out M'Lord!"


Viking point of view. Berserkers charge into my Warriors trying to guard the front door of the Abbey


I had a hot hand and wiped out the Berserkers. Sadly I lost 6 of my lads in the process.

Meanwhile off camera. The Viking Warlord and a unit of Hearthguard bust their way into the church(Activation) and spend a turn looting(Activation). My Warlord and other unit of Warriors is circling around the back of the church to cut off the Viking Escape.


 The Viking Hearthguard counter attack the Saxon Warriors by the Abbey door, keeping the escape route open for the Vikings inside doing the pillaging. 

 
The Saxon's launch an attack on the Vikings. Driving them back, killing 2, but loosing one.


 The Viking Warlord and a 4 man unit of Hearthguard come out loaded with Gold and head for the boats.


 A lone unit of Viking Hearthguard holds off the Saxon warriors from chasing after the gold. Even with only 2 of them left, they are a formidable foe and treat the Saxon warriors roughly. Again trading 2 for 1.

 Finally the Saxon Warlord and warriors get around the Abbey and try to cut off the Vikings from escape.


 Last of the viking rearguard is cut down and the Vikings with the gold race for the table edge(Yellow Line).  So I have one unit chasing the Vikings and gold. And 2 units moving to cut them off. Actually I didn't have the dice to move the warriors chasing them. I just used all my dice on my Warlord and warriors moving to cut them off.

It's interesting to note as you lose units, you get less dice and it gets harder to move your troops around. It has a good feel to it as both warbands are getting tired and worn down.


Both Warlords didn't want to commit as neither of us felt we have an advantage. So we both continue to head for the corner. I eventually get them cut off from their board edge. Finally it's getting late so I make my move. Advance my Warlord and warriors and charge. I drove them off from the gold. I forgot Warlords Pride and charged the Hearthguard. So we called it a draw, I was too tired to fix it or continue playing. The Vikings butchered the Priests of the Abbey, and got back to their boats, but did not get the gold. My Saxon Warlord will put that gold to good use. As far as the church knows, the vikings got away.

So this was our second outing with Saga and we are having a good time with it. So far my friend LL has been doing most of the painting and we have a 4 point Saxon and 4 point Viking warband. We hope to add some more soon. I was going to buy an Anglo-Saxon warband at Fall In, but now I think I might get Normans or maybe both. These Anglo-Saxons are hard to play. Seems like the Vikings have such better abilities. Everytime The Viking player discards a die, it feels like he gets 10 extra dice for every combat. I've read that AS plays better at 6 points. We will see. Must do a campaign soon.

Thanks for reading, it was fun playing, hope it was fun reading.
Xin


Wednesday, October 23, 2013

Painting Dwarven Forge


I just got my Dwarven Forge Kickstarter package. My first Kickstarter and I think a really good one. I wish I had jumped on the 1st Reaper Bones Kickstarter as well.

But anyway I'm very excited to get this project off the ground. Of course it's not like I don't already have some pokers in the fire. What with running 2 LOTR games at Fall In and no terrain finished. Here are some pics of the DW pieces as I ripped open the first box.

D&D mini's added for effect! 


 Bonus points for Id'ing the set of teeth in the last pic!

 
Also here is a chart that Dwarven Forge did for testing which paints work best with the game tiles. Read the whole article at their site: http://www.dwarvenforge.com/painting


More pics when I get time to paint. Ciao for now, Xin


Friday, October 4, 2013

Dark Age SBG: Vikings vs Saxons


I've been hunting around for a Dark Age rule set for awhile. I've tried a few free rules, a few paid for rules. I liked some of them or parts of them, but for whatever reason, I couldn't settle on one.

A few nights ago, on our regular gaming night, we didn't have anything planned. So when my friend, came over I gave him a choice, X-Wing or Vikings vs Saxons using the latest version of GW Strategy Battle Game. I still refer to it as LOTR:SBG but it is officially The Hobbit: SBG. he picked SBG. We didn't make any changes to the rules or army lists as we didn't have a lot of time.

Base on what figures we had about 20 each of Sax and Vikings, I threw together 2 army lists. For the vikings we used the Isengard list. For Saxons we used Rohan. This, to me, represented very roughly Vikings and Saxons. One side better fighters with more Armor/gear. The other side, the lesser trained/armed Fyrd running to protect their homes. Basically we got some F4/D5 Warriors vs F3/D4. 

The Vikings:
Warband 1
Huscarls = Uruk-Hai w/shields
Warband 2
Bondi = Wild Man of Dunland
Berserkers = Uruk-Hai Berserkers
Warband 3
Bondi = Wild Man of Dunland
Archers = Ruffian w/bow

The Saxons:
Warband 1
Huscarls = Warriors of Rohan w/Shield
Warband 2
Fyrd = Warriors of Rohan No Shields/Throwing Spear
Warband 3
Fyrd = Warriors of Rohan No Shields/Throwing Spear
Archers Warriors of Rohan, Bow

Since the Vikings were raiding the Saxon's, the Saxon's setup first. The Vikings rolled to see which board edge each Warband would come on. They ended up with one Warband per board edge.
I had my Saxon Huscarls on the right. Archers on a hill in the middle and Fyrd cowering behind walls on the left.


The Viking perspective, Huscarls on the left, Bondi up the center and right.

 The Vikings advance into the village center. My Saxon's fall back to form up.

 The Bondi advance towards the Fyrd behind the walls. They did not realize my Fyrd was waiting to shower them with Throwing Spears.

First Blood goes to the Fyrd. The Bondi Leader begins to rethink "I'll just storm over the wall" approach. Both Viking Warbands that came in on the side edges move into the center.

 The Vikings are forming up to assault. 2 More Bondi die to Throwing spears. My Archers couldn't hit the ground if they tried. 

 My Fyrd on the extreme left get cocky( it will cost them later) and hop the wall to go after the Bondi that pulled back from the field, but there is a Viking rearguard.

The Fyrd hold the line, chucking more spears. My Huscarls fall back to the cliff edge. I'm afraid of the Viking Huscarls. Better Fight and Defense scores. I let my Fyrd do the fighting against the weaker Bondi and it's paying off.

 Steady men, let them come.


Saxon Huscarls zero kills. Fyrd has 5 kills!

Fyrd claim another victim with spears on the left. Too be honest here, I had a hot hand when I was throwing the spears and I always went for the less armored Bondi.

The Vikings move up and get ready to charge. I've run out of "redeploy" room. Time for my Huscarls to earn their pay.

The Fyrd and Bondi go at it hard. Both sides taking casualties. The battle goes back and forth. For the rest of the game we each will feed more troops into this fight. My Standard Bearer, a Saxon Leader was outnumbered fight after fight. He was surrounded by corpses at the end of the night.

My 2 little Fyrd on the extreme left got cocky and charged a lone Bondi. What is the growling mouth foaming beast before them? Oh crap one of the two Viking Berserkers. They where very brave and will be missed.

The Bondi and Fyrd battle continues to rage. I feed in more Fyrd and since my archers couldn't hit anything, I threw them into the fray.

The Main lines clash! I couldn't avoid it any longer. He had Priority so he charged in and picked his fights. My response was to bring my archers off the hill to lap around the sides.

The Fyrd are heroes, tying up the 2 groups of Bondi and 2 leaders.

The Huscarl fight was hard, but I hang on. One mistake I made was not leaving myself room to fall back, In the SBG rules, if you can't fall back after loosing, you fall to the ground and your opponent gets double the attacks. This cost me 2 Huscarls.

On the far right it was a straight up fight, 3 vs 3, but his troops were better. After the first round, it's a 2 vs 2.

At this point The Vikings reached 50% casualties, which means for them to charge they would have to take a moral test every time. And it was late so we had to call it. I was 1 or 2 models from breaking myself. It was a Saxon Victory but costly. The Vikings will have to sail back home licking their wounds till next year.

The rules worked very very well for Dark Ages. We will do this again. Time to make up some army lists as opposed to using LOTR stats. Also I have a small campaign in mind.