Well once again there is no adult supervision in my basement.We will be running 6 events at Historicon. The battle of Aspern-Essling 3 times, and I will be running Frostgrave 3 times.
We start off with building another huge table, 6x12 feet for Aspern-Essling. Lets get right to the pictures.
We start off with 3 sheets of Kingspan insulation from Lowes. Each sheet is 4 feet by 6 feet and 2 inches thick. We would prefer using the pink insulation from Owen Corning, but we could not find the size we wanted. In our opinion the pink board is better than the blue or green board. The color of the foam is green, but that doesn't show in the pictures.
Using our patented glass bead method we lay out major terrain features on the board. Rivers, roads, towns and hills. We use the glass beads cause that allows so to see the board and make adjustments till we think the layout is historical and fits on the boards. After we are happy with the position of all the terrain features we draw them in with different colored sharpies.
We took a break from building to organize our lead. It was still a bit of a jumble from our
Eylau game Cold Wars. We also had to take inventory and figure out what additional units we needed for Aspern-Essling. Turns out a lot! A very big order was placed to
Old Glory. All the figures we use are 10mm Old Glory. Thank god for the Old Glory Army membership.
It took a few days but we are all sorted. We love these troop trays from
Dave's Baggage Terrain. All our figures are mounted on metal base stands from
Wargame Accessories. The troop trays are lined with sheet magnets which keeps all our little gus firmly in place.
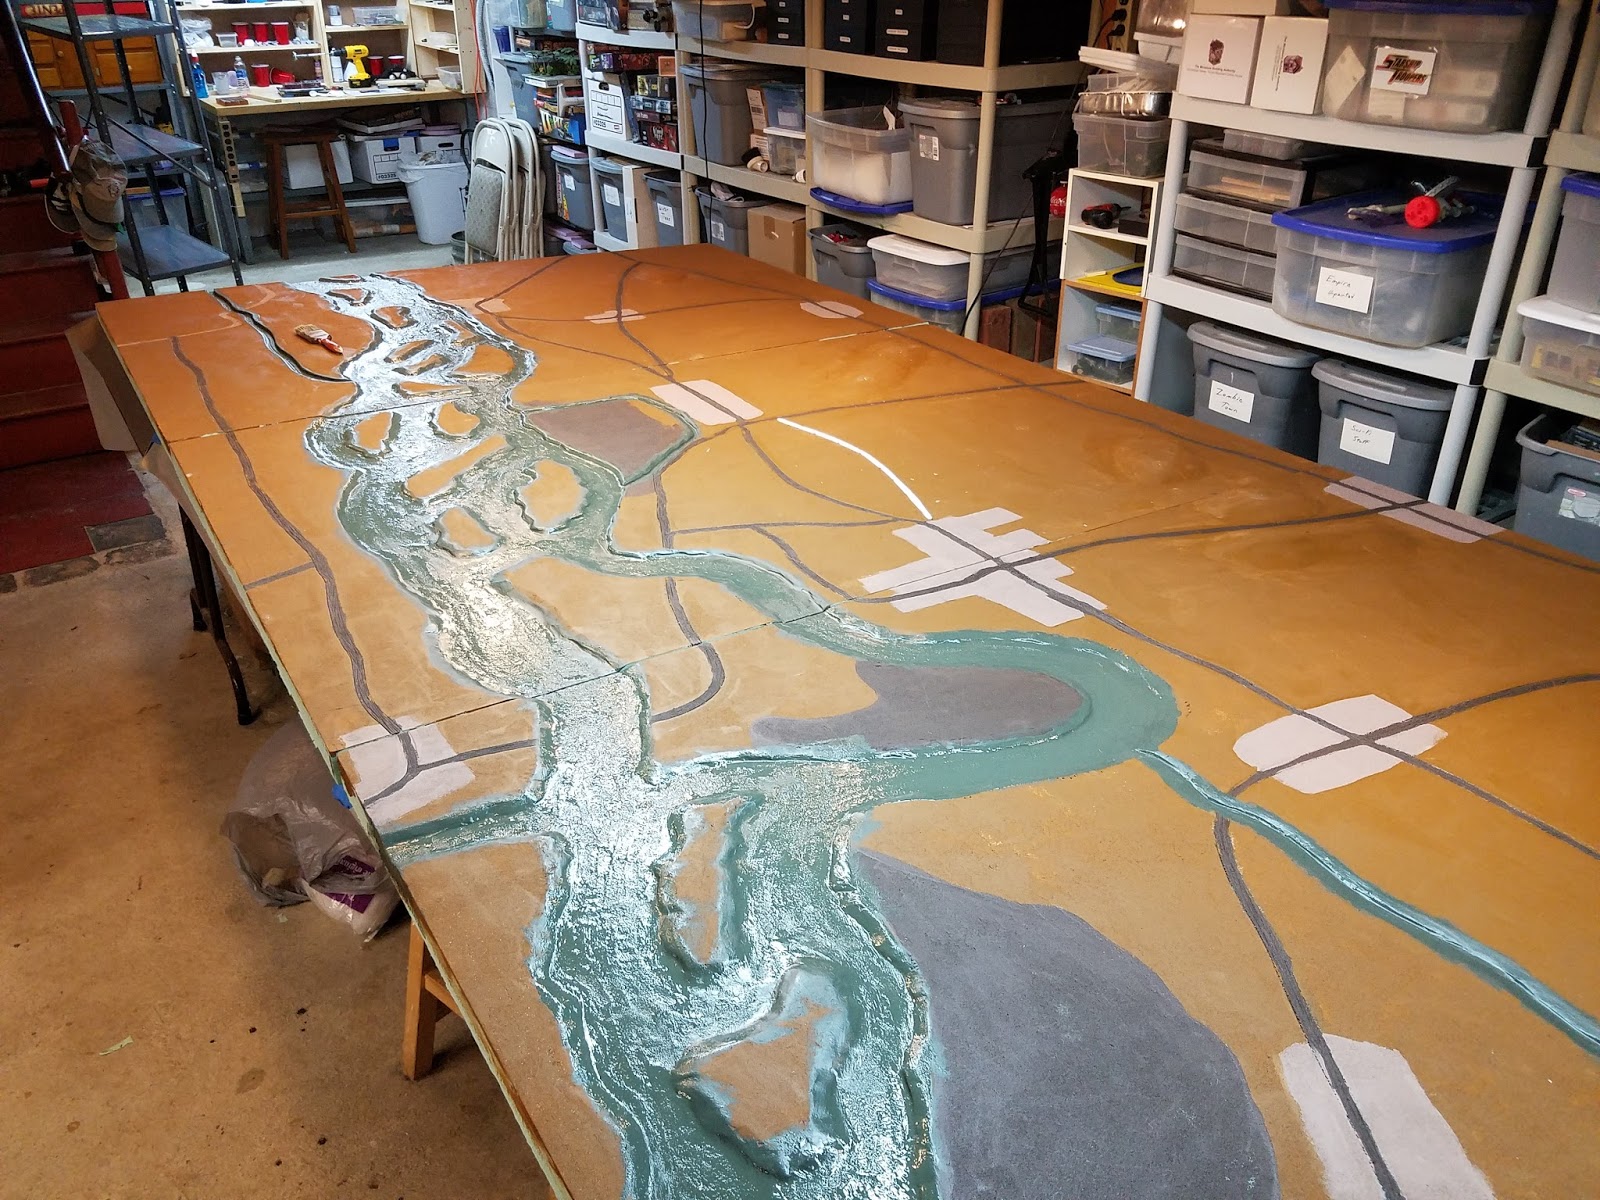
With the figures all put away, we are back to building the table. Aspern-Essling has a lot of water features. They will feature prominently on our table. We are using a Dewalt router to carve out the rivers and islands. It was hard to see the lines drawn while routing so we added some LED lights to the router.
The Danube carved into the insulation.
All done. A note of caution when working with foam insulation. The particles are toxic to breathe. We have a Shop Vac attached directly to the router with an air filter on it. We also wear dust masks and we have fans venting the basement to the outside. As we work. Once done we leave the basement for 30 minutes to let the air clear. The shop vac handles the majority of the work.
We use X-acto knives to carve in river banks.
To further smooth out the rivers bank we use light weight spackle. This takes a day to dry.
That's all for now, more to come. Thanks for Stopping by,
Xin/Jeff