This past weekend was Cold Wars 2014 in Lancaster PA. All the time and effort I put into my Asteroid Base was about to be showcased.
You can see all my WIP posts building the Asteroid Base here:
Part 1,
Part 2,
Part 3,
Part 4,
Part 5,
Part 6
The battle was for 8 players. I had 5 signups and 3 Walk ups. I set up Saturday night in the main ballroom and we got down to it. It was a mix of beginners and veterans. I split up the veterans and we had at least one kid/grown up pair on each side as well. So the rookies were in good hands.
Scenario Set up:
The Rebels have taken over a smugglers base on an asteroid. The dense asteroid field keeps out the bigger ships. The Empire has to send in small fighters and bombers to destroy the base.
Rules:
The Empire has to use Proton Torpedo's to destroy the hanger bays. Also the hangers have 2 shields each. Too take down a shield, you need 2 hits from a Proton Torpdeo or 2 hits from blasters from the same ship in the same turn. Meaning, you have to overwhelm the shield with blaster fire in one shot.
The turrets would shoot last unless you were making a run at the hanger bays, in which case they would shoot first.
The Imperials had 2 Bombers each with 2 Torpedo's and specially modified Advanced Ties with one Torpedo. 6 Torpedos total. The Rebels knew they had to stop the Bombers, and they also knew some of the other ships might carry torpedos, just not which ones.
Here's the board just before deployment. I added rock outcroppings at the last minute(painted Thursday morning before heading out). I had also found some craters that I forgot I had. Bought from the flea market 4-5 years ago and never used.
The other last minute change was the addition of
turrets my friend Lou sculpted and cast for me. They were so cool I had to use them. All the terrain is for scenic effect. So as players moved, they slid the outcroppings and impact craters aside. I wanted to build some rock spires to fly around, but ran out of time.
A pic facing towards the Imperial Deployment zone. Sorry about the lighting. The camera kept turning off the flash for some reason.
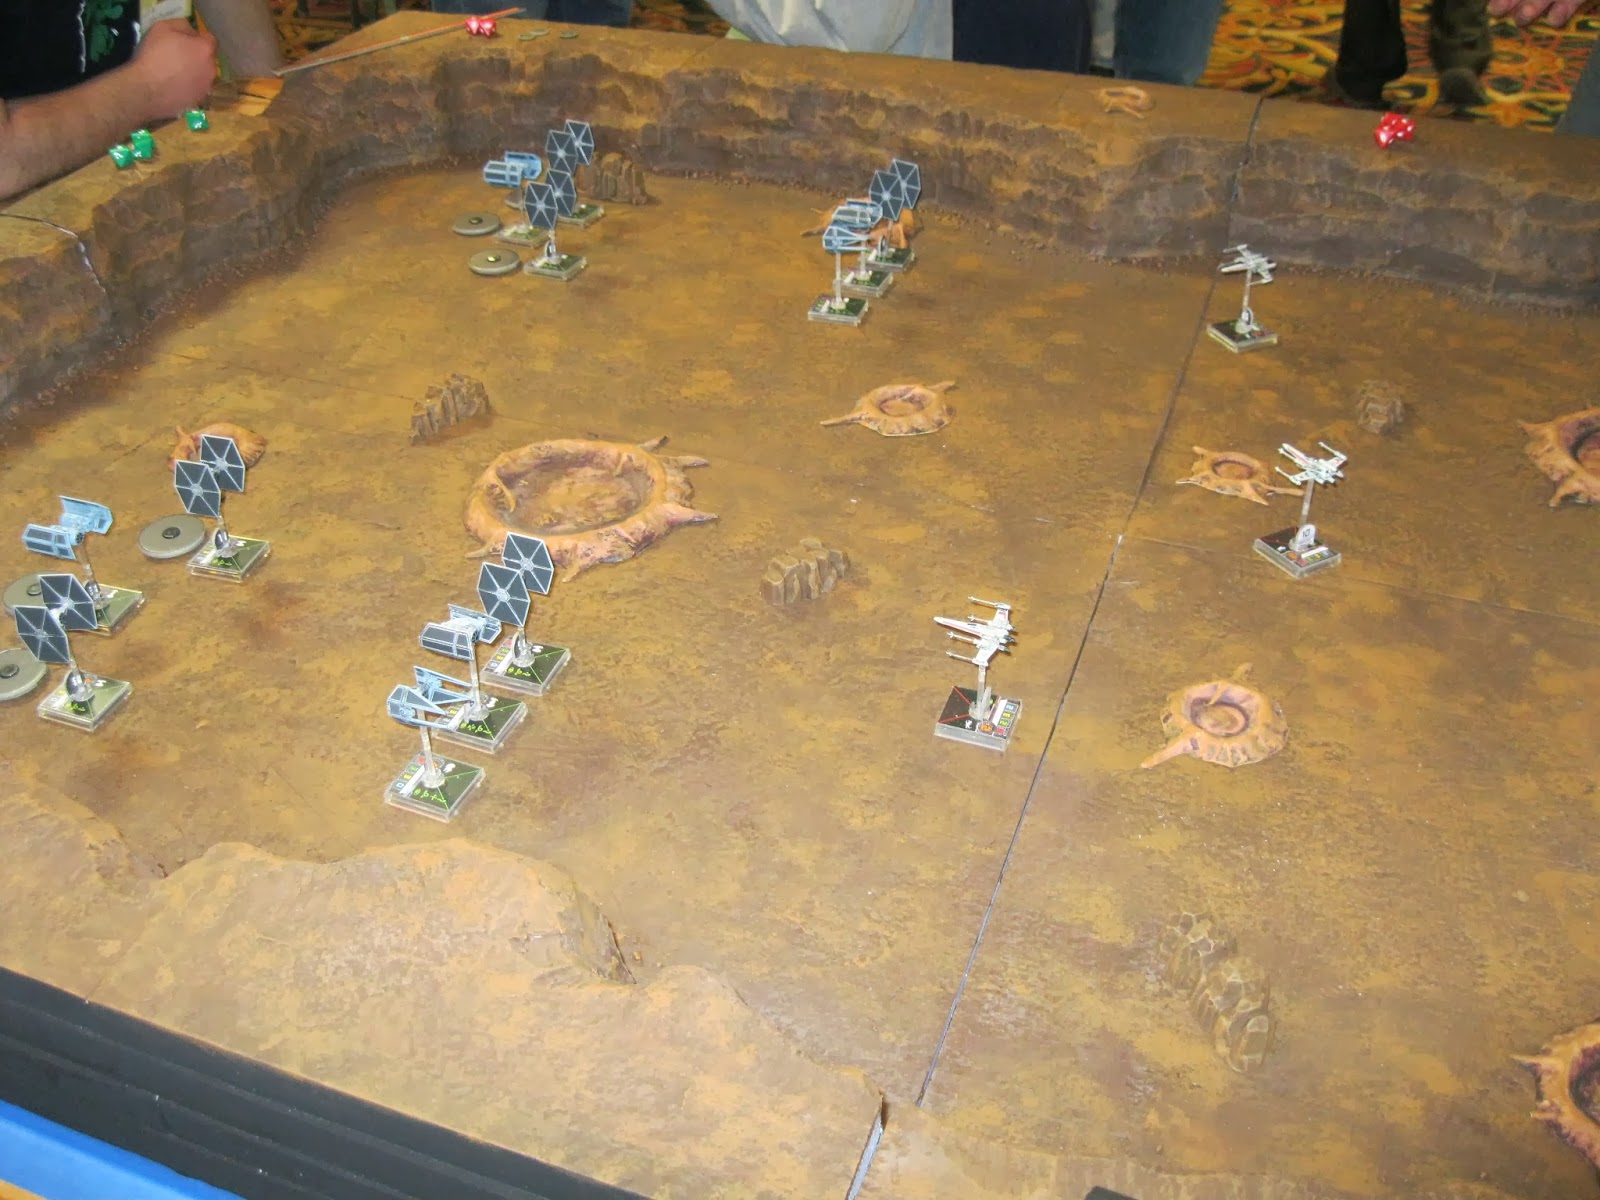
The Combat Air Patrol is deployed of 4 X-Wings. 2nd turn will launch 2 A-Wings and 2 Y-Wings.
The Imperials come in 2 waves. I think the first wave was 2 Intercepter, 2 Advanced 2 Ties. The 2nd wave will be 4 ties and 2 Bombers. The X-Wings accelerate to attack speed.
Stay on target!
2nd wave of Rebels launch! I might have photoshoped out some flight stands on this one.
The Bombers and escorts drop down into the crater.
There should be a flaming pile of X-Wing in front of that first wave of fighters. 1 vs 3 didn't work out well. First blood, Empire!
View from the Imperial side
Now really starting to mix it up. The Imperials had a very hot dice hand early on.
Too be honest, about here, all the players were moving on their own and all the work of putting on 2 games was catching up with me. I zoned out on actual play by play action. I was pretty exhausted.
The attack up the right side was making more headway. The rebels got some bad Crits that really slowed them down from going after the Tie Bomber.
The Bomber's escorts took out the small turret. The Imperials used massed blaster fire to bring down the shields, and then the Tie Bomber took out The Rebel Hanger Bay. One down.
The rebels were really starting to be short of ships at this point. However they did manage to bring down the other Advanced and Bomber. Now the Imperials only had 2 torps left.
The Imperial Squad does a nice formation turn towards the other hanger bay. All rebel ships are now trying to head them off.
Looks like the Rebels only have 2 A-Wings and 2 X-Wings all of which are pretty banged up
Rebels Closing in. The Advanced and Interceptor take out another turret. I think the A-Wings become flaming wreckage right after this picture was taken.
Imperials use a torpedo to bring down the Hanger shields. Next turn could be it.
The X-Wing lining up to shoot the Bomber is destroyed before it can get a shot off. The Imperials just have to fire a torpedo. NO TARGET LOCK!!!! The Imperial player who had been playing brilliantly forgot the Target lock. I think he started banging his head against a nearby wall. He cannot fire the Torpedo. He will have to swing around and line up another shot.
At this point, the Rebs had one X-Wing left, so we called it. It would have been very easy for the Imperial to swing around and come in again and very little the lone X-Wing could have done about it. Imperial Victory with the last torpedo.
Conclusions,
I think everyone had a good time. It was a well mannered, fun bunch of players. I think the kids had a great time.
I spend a lot of effort to make a very balanced scenario, but there are things beyond your control. I have no control over a hot dice hand. I have no control over how much or how little players get involved. You just have to take what comes and roll with it.
I think if I run this scenario again I will make some small changes. In our play test, with nearly equal points, The rebels destroyed the Empire, because they knew to ignore the ties. So I swung the points to the Empires side by a good margin, and "hid" the torpedos.
I think that was the right call. The mistake I made was ALL the Imperial Pilots were better than all the Rebels. I need to vary the skill levels. It was still a close game, but could have been better.
It was a lot of fun planning, building and hosting the game, I hope the players and readers enjoyed the show.
Xin


Just OVER THE TOP GREAT!!!
ReplyDeletePew pew! Well done for getting this great game together in such a short timespan. Looks like it was a fun scenario!
ReplyDeleteThe board looks brilliant!! What a great game!!!
ReplyDeleteMy son and I played in this event. It was our first game of X-Wing and we had a blast. Kudos to the GM and to the veteran pilots who shared their game smarts with us.
ReplyDeleteI enjoyed following the development of this on TMP and here. Looks like it turned out to be a great game.
ReplyDeleteWhat stats did you apply to the turrets?