Thursday, July 17, 2014

Building Stones River Battlefield, Part 4

I was so busy making the battlefield in the last week I didn't have time for any posting. Now I'm at Historicon Thursday morning, waiting for the Dealer area to open at noon, so I have some time to kill

Laying out the edge of the woods

Gluing the woods flock down. Used Woodland scenics glue, didn't work well. Not thick enough to "grab" the flock. It just absorbs up into the flock.

More Woods

Making Winter trees. This was almost a "whoops" moment. As we forgot the battle takes place in December. We did up over 100 trees for this battle. Not Museum quality, but wargame functional.

Woods after knocking off the loose flock. Had to go back and redo a lot of areas.

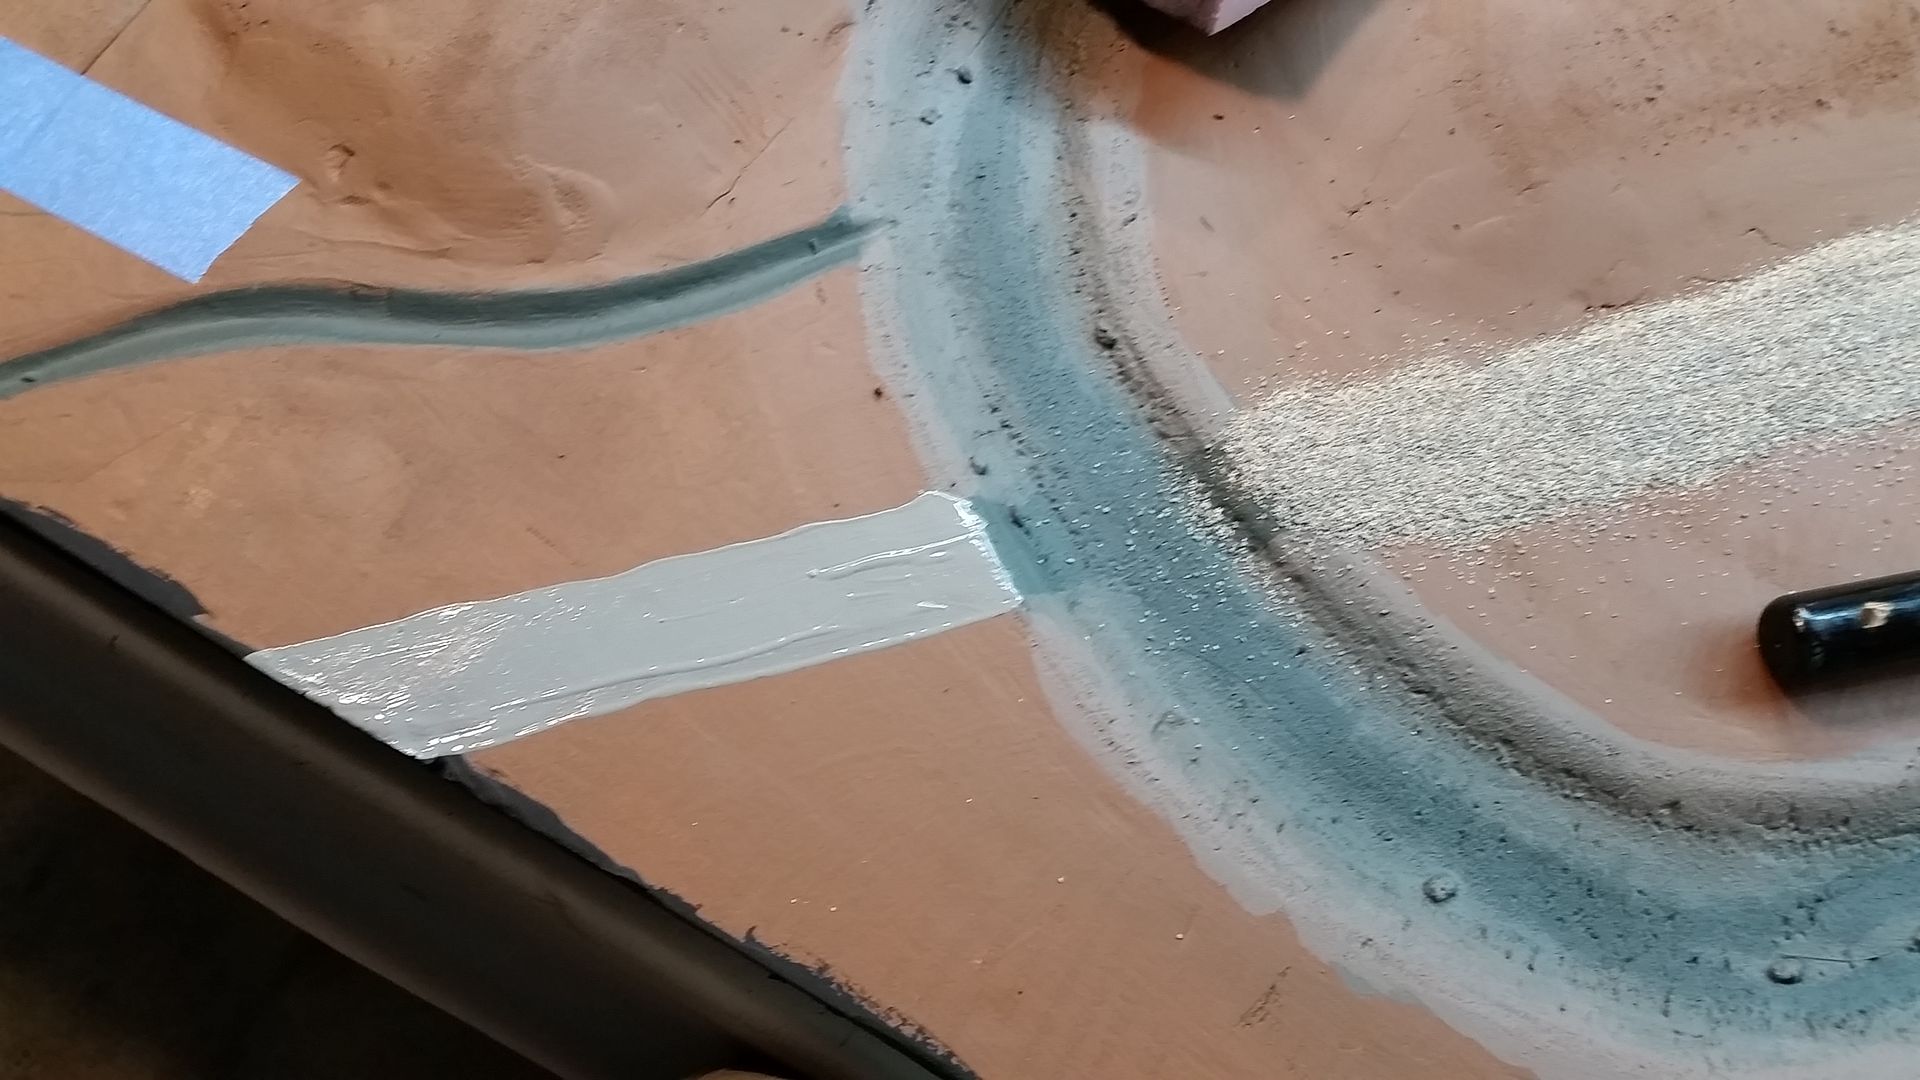
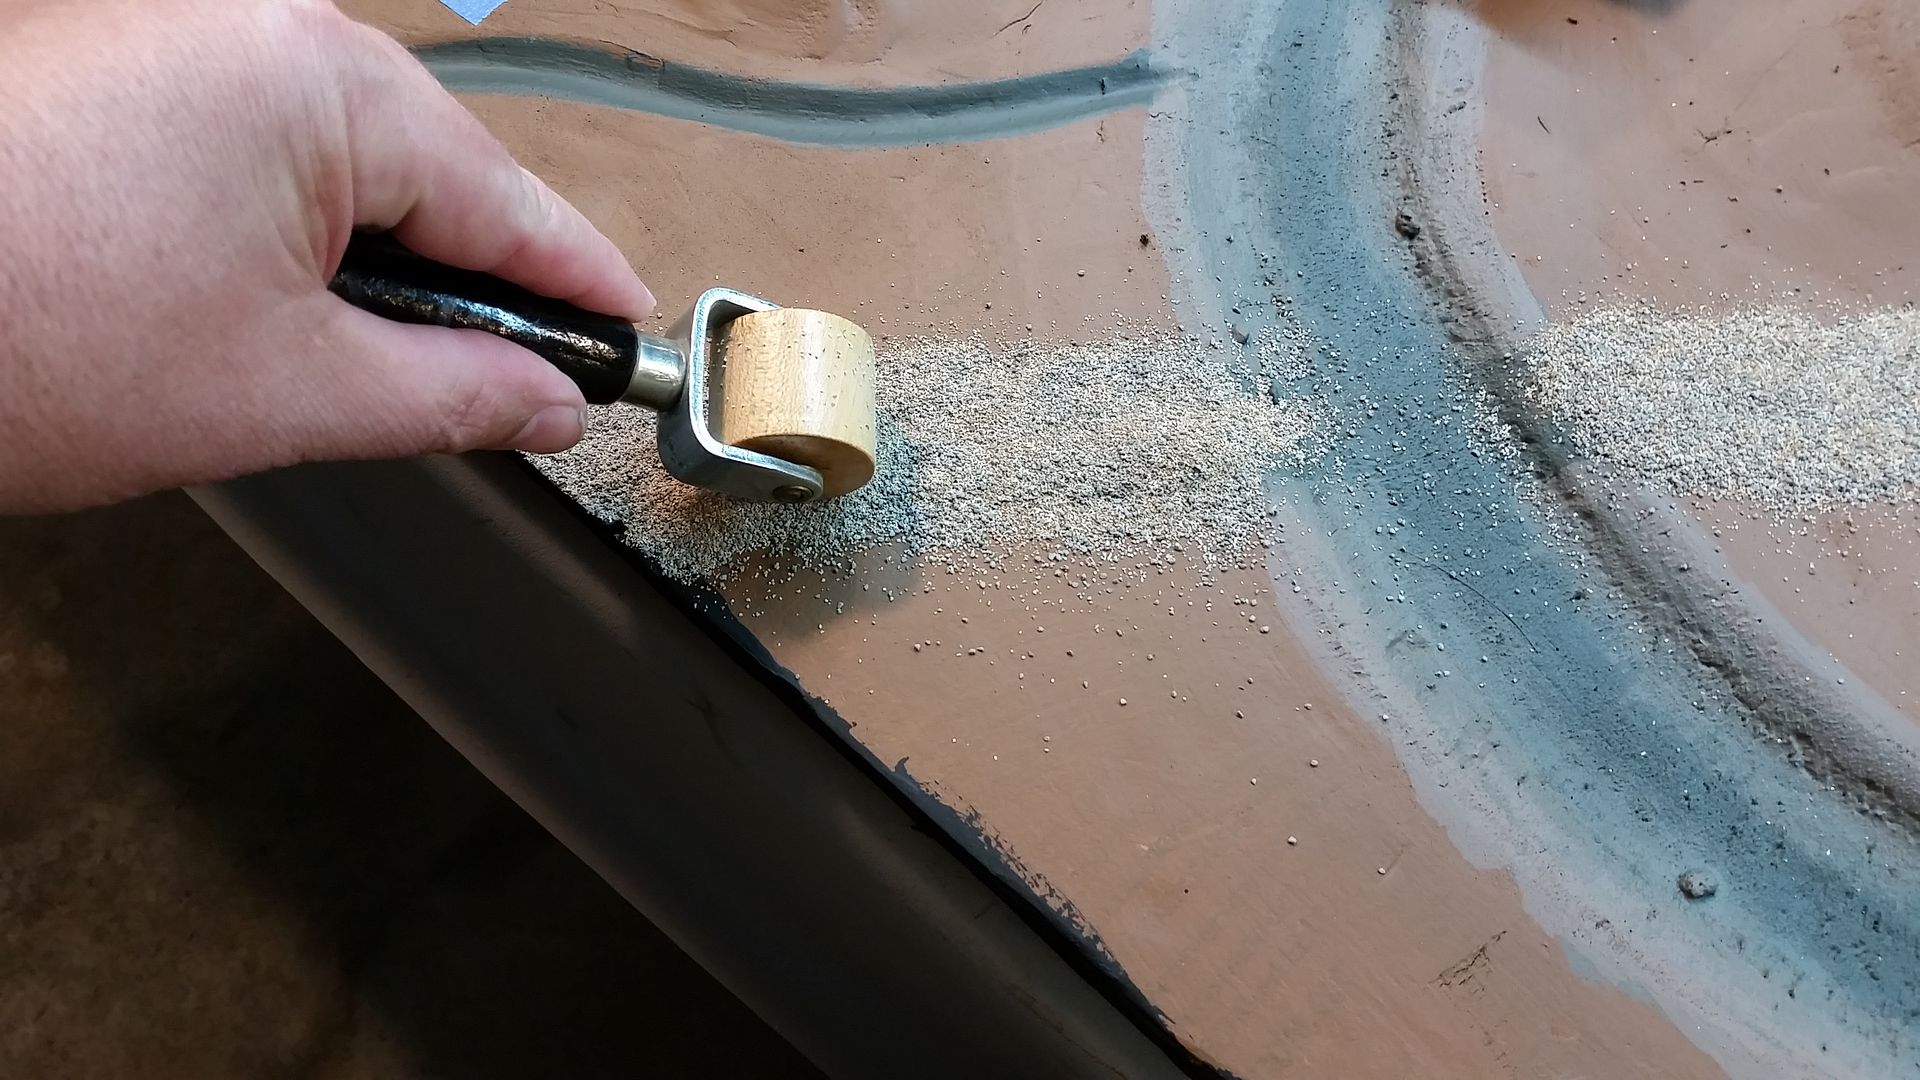
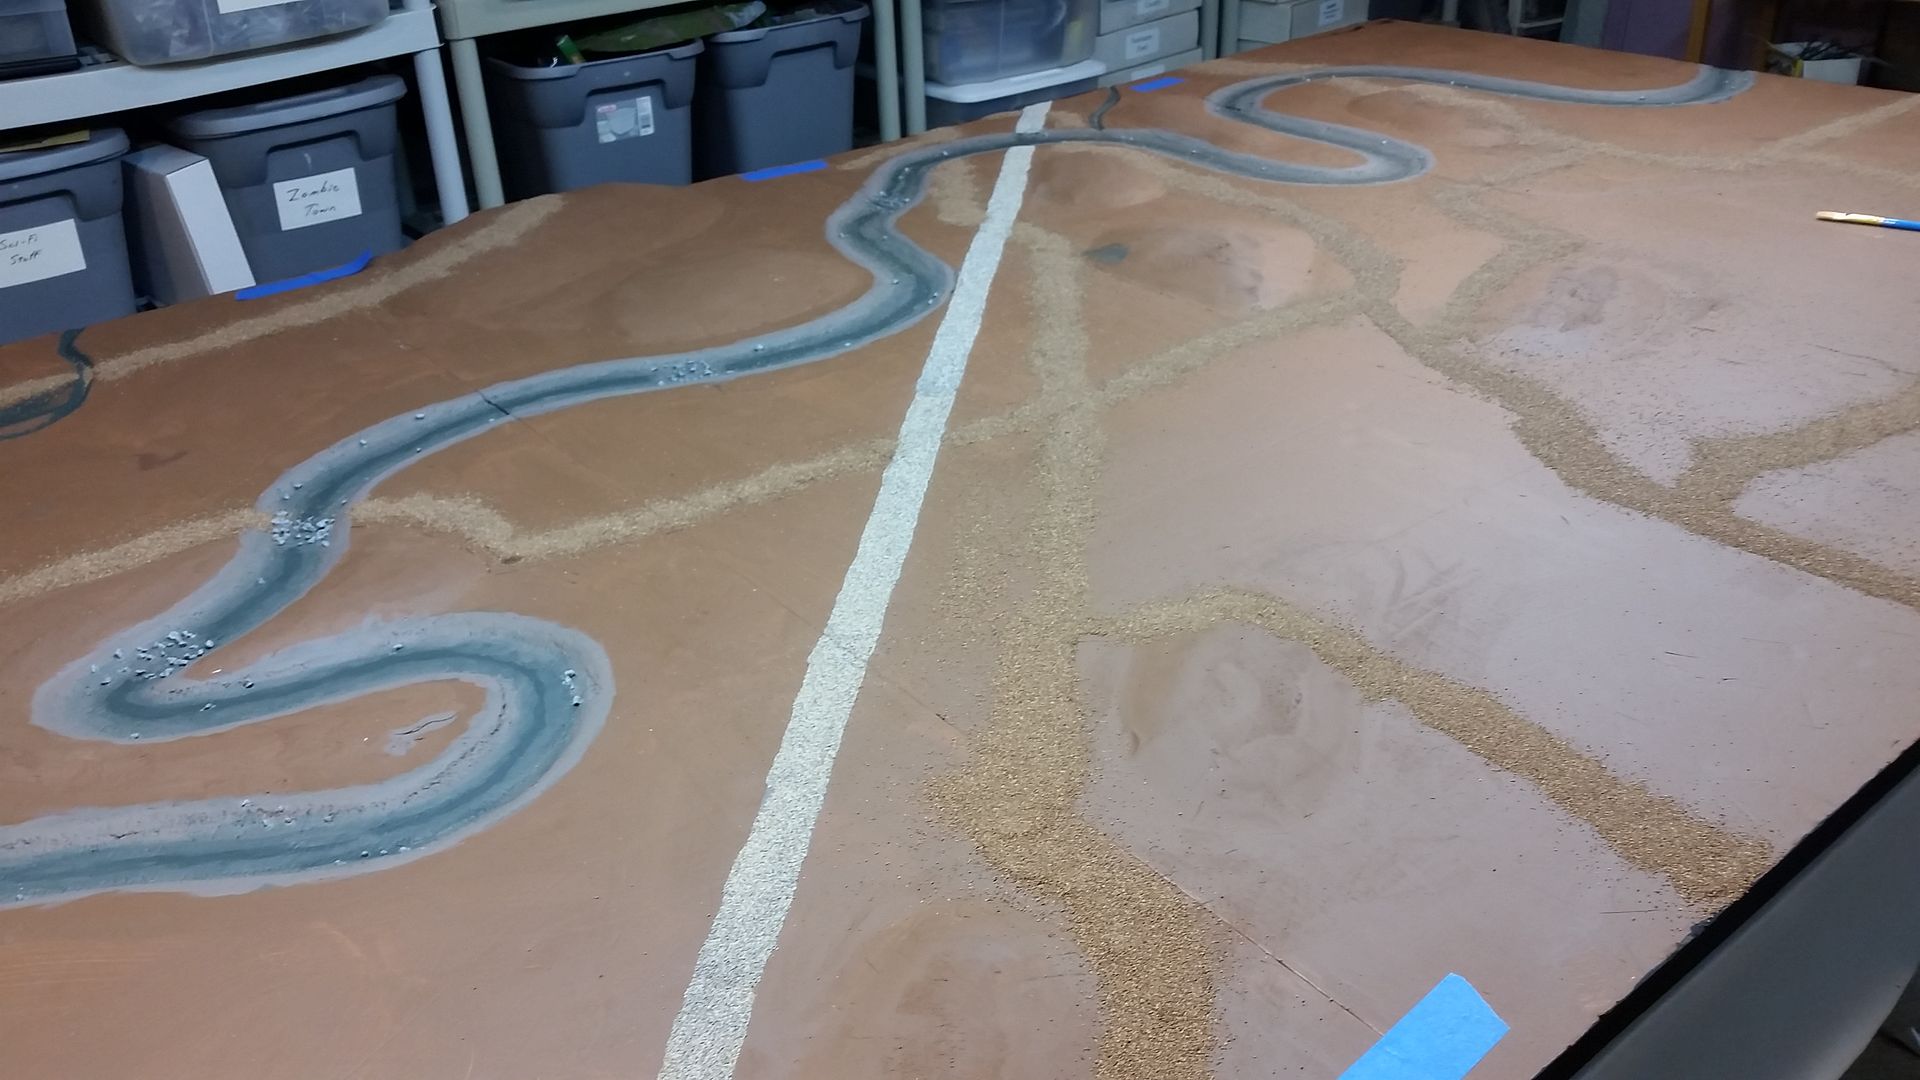
Adding grass/ground flock. I made a custom blend. It should have been browner, but at 1am you have to make do with what's in your basement. I used green/brown paint to "glue" down the flock. Then later, misted the whole thing with a glue spray.

All excess dusted off and collected for reuse.

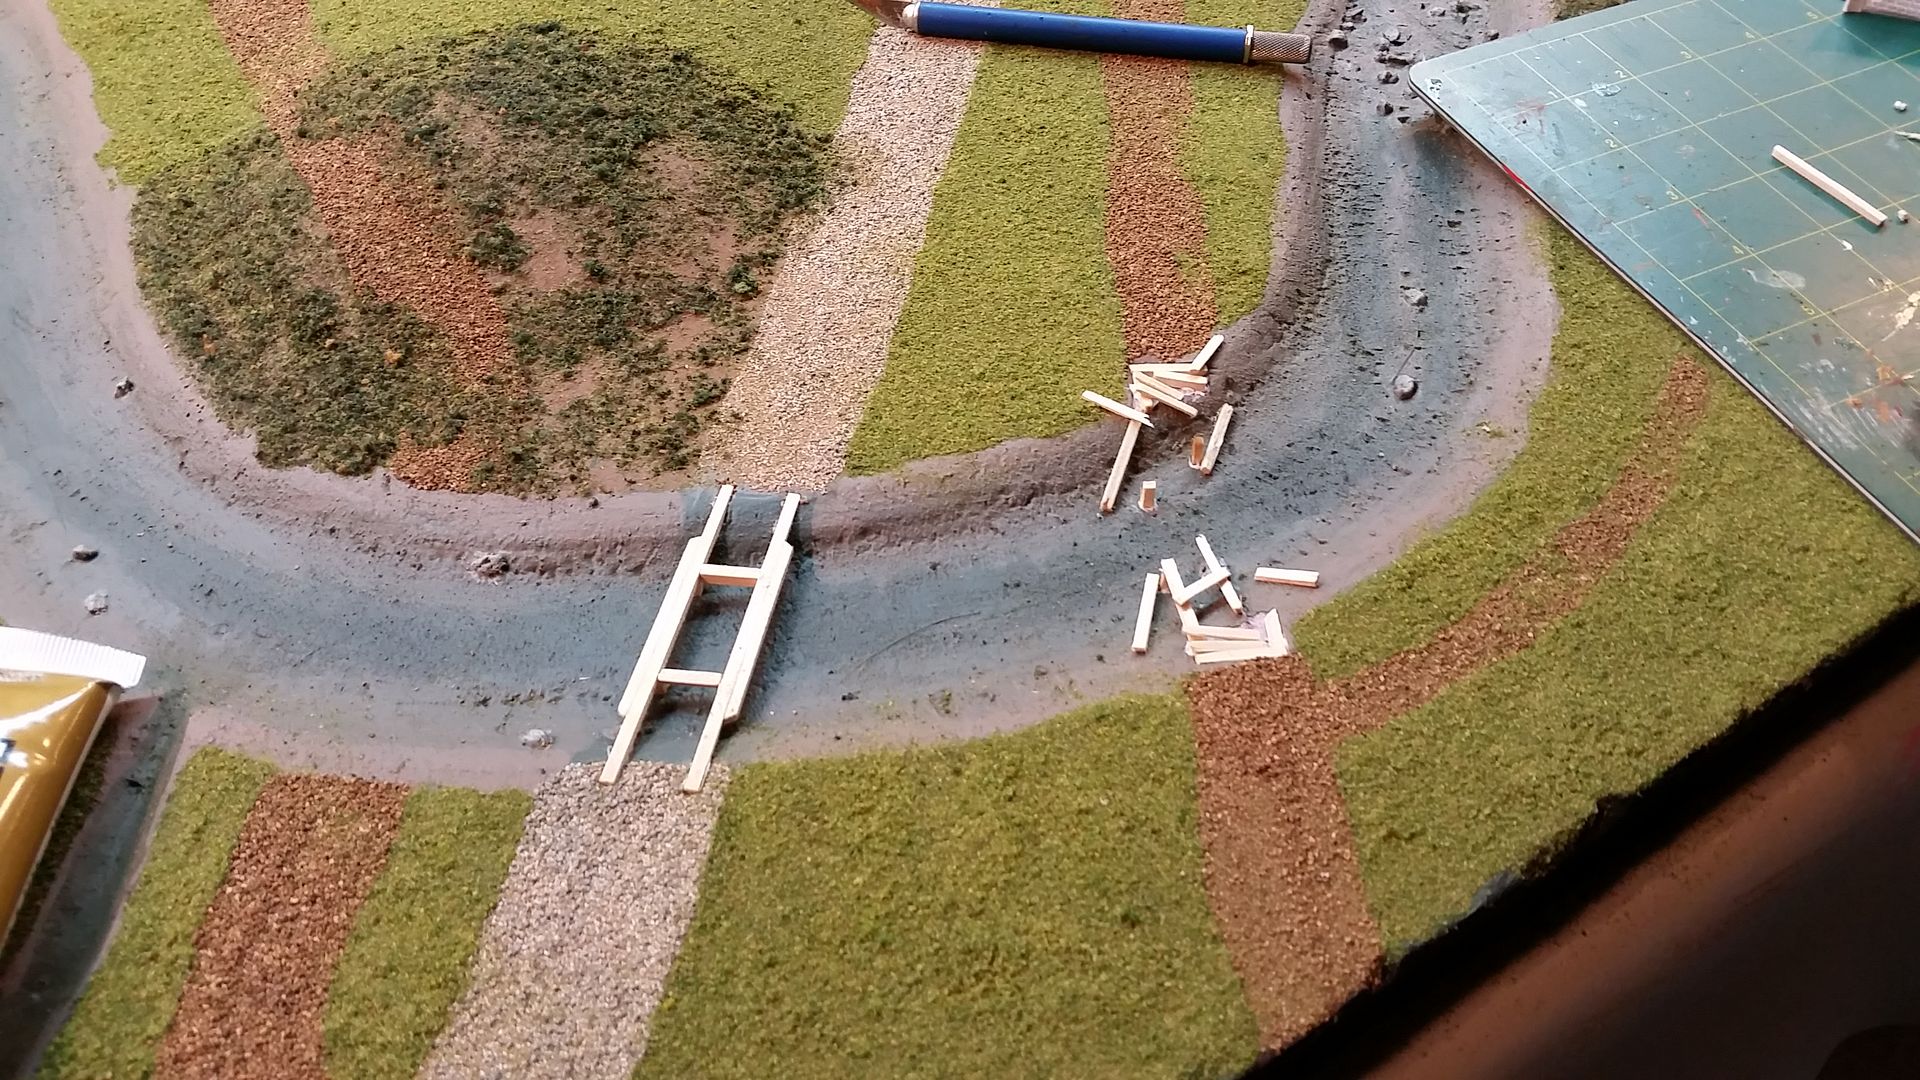
Railroad bridge and destroyed bridge.

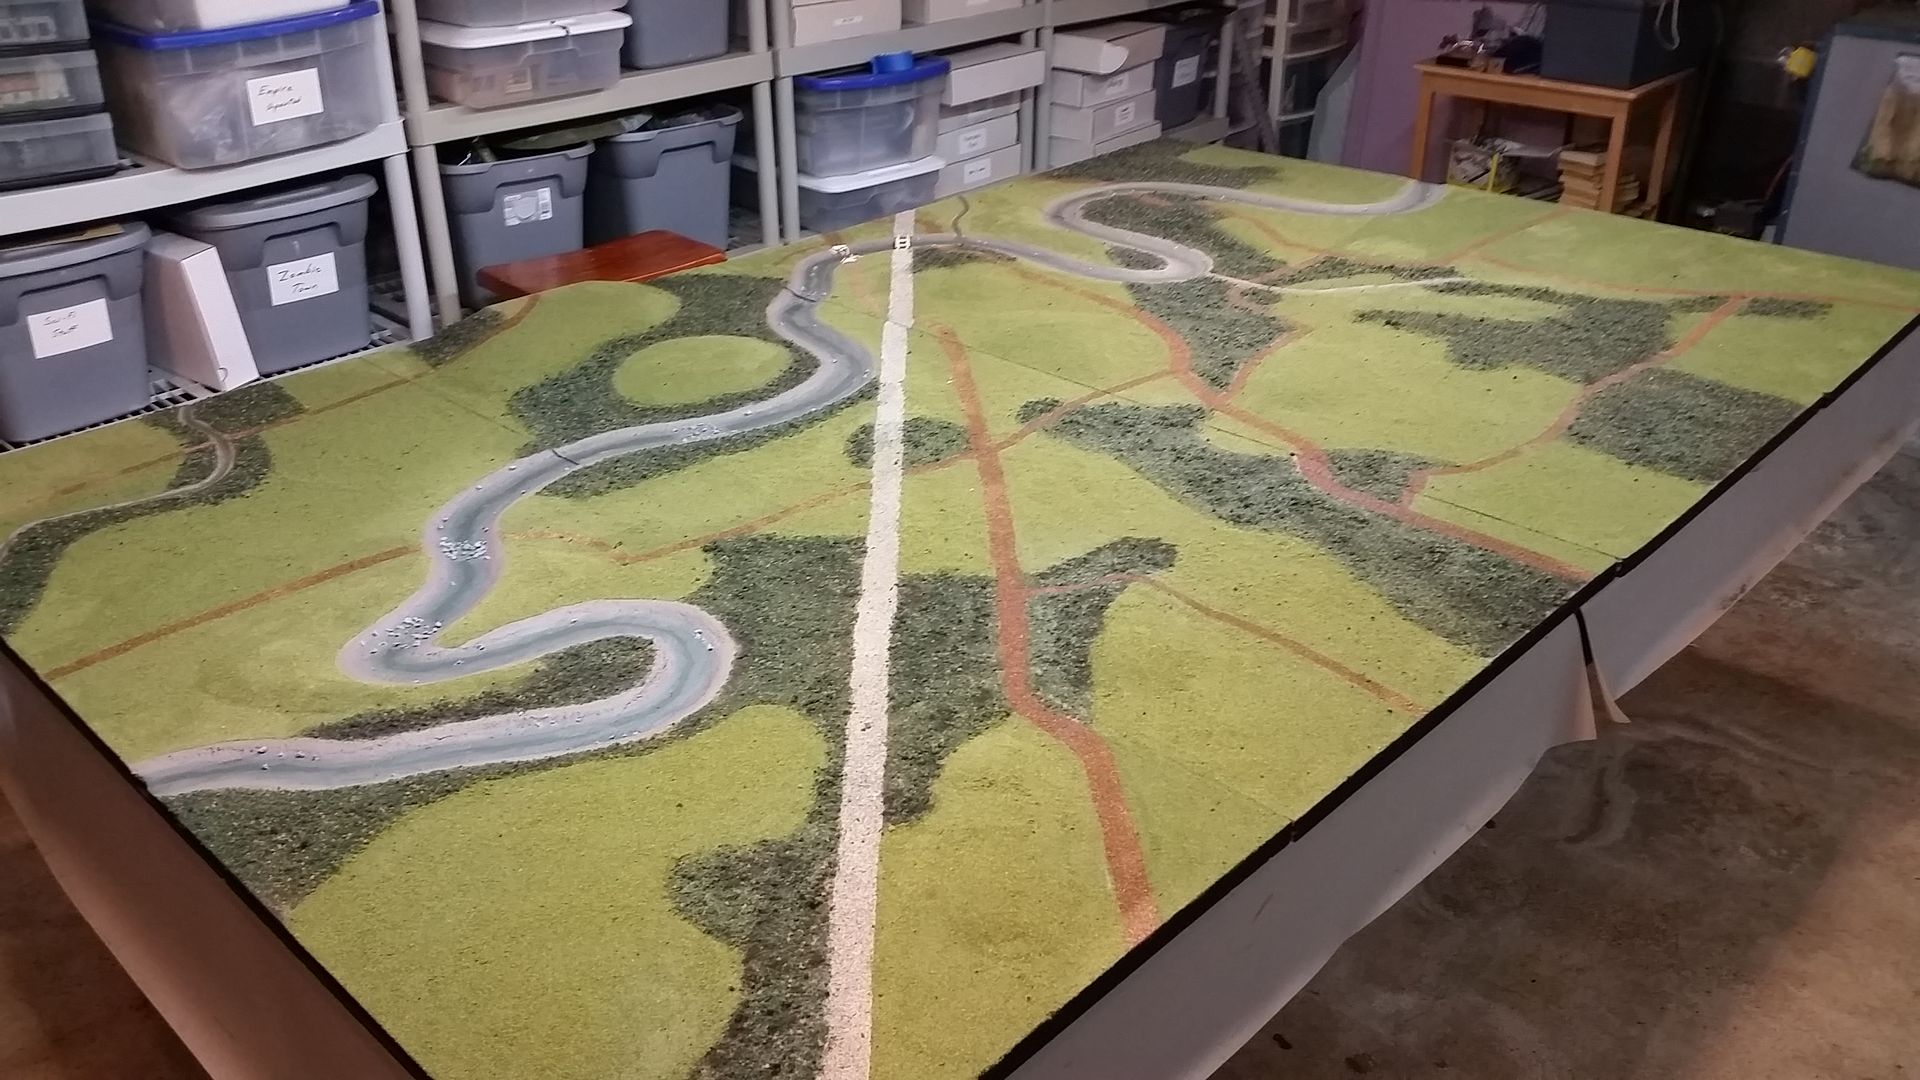
All flock and woods done. You can see white areas, that's the heavy spray of white glue to hold everything down.

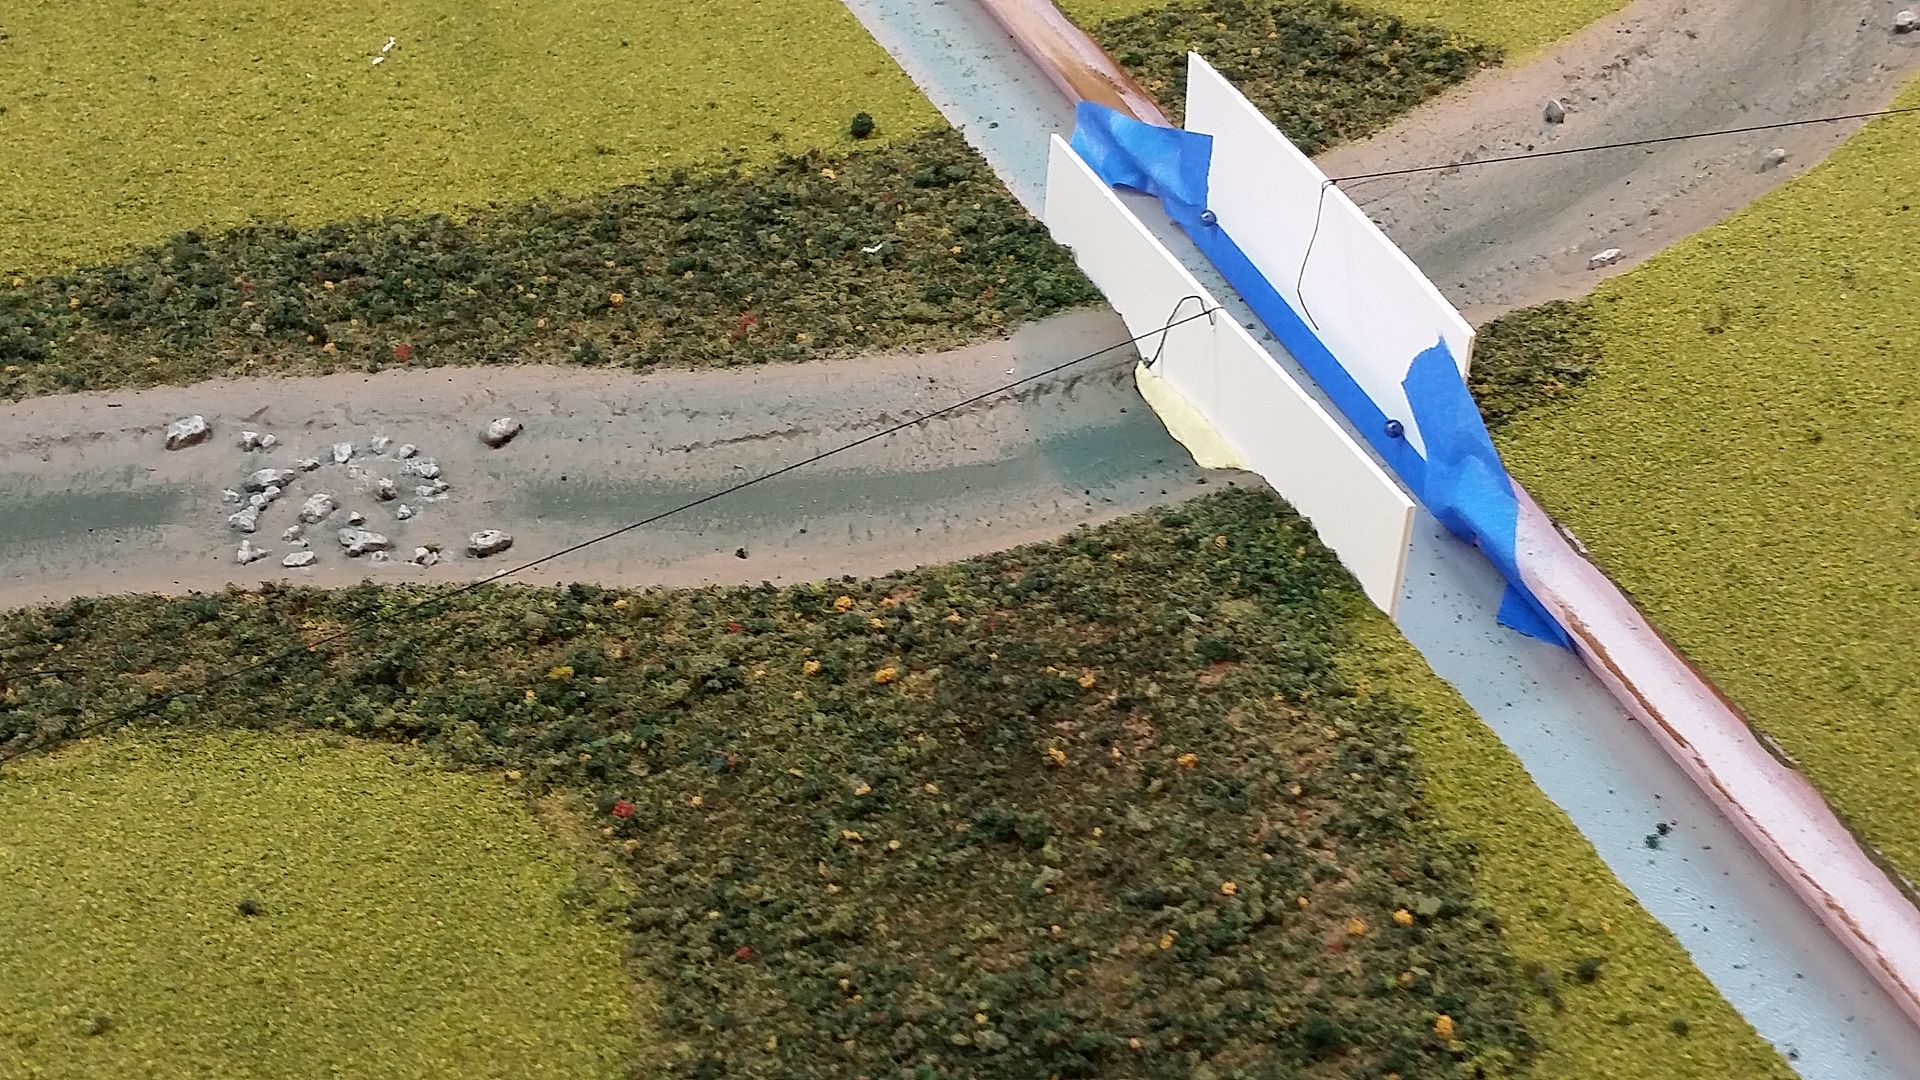
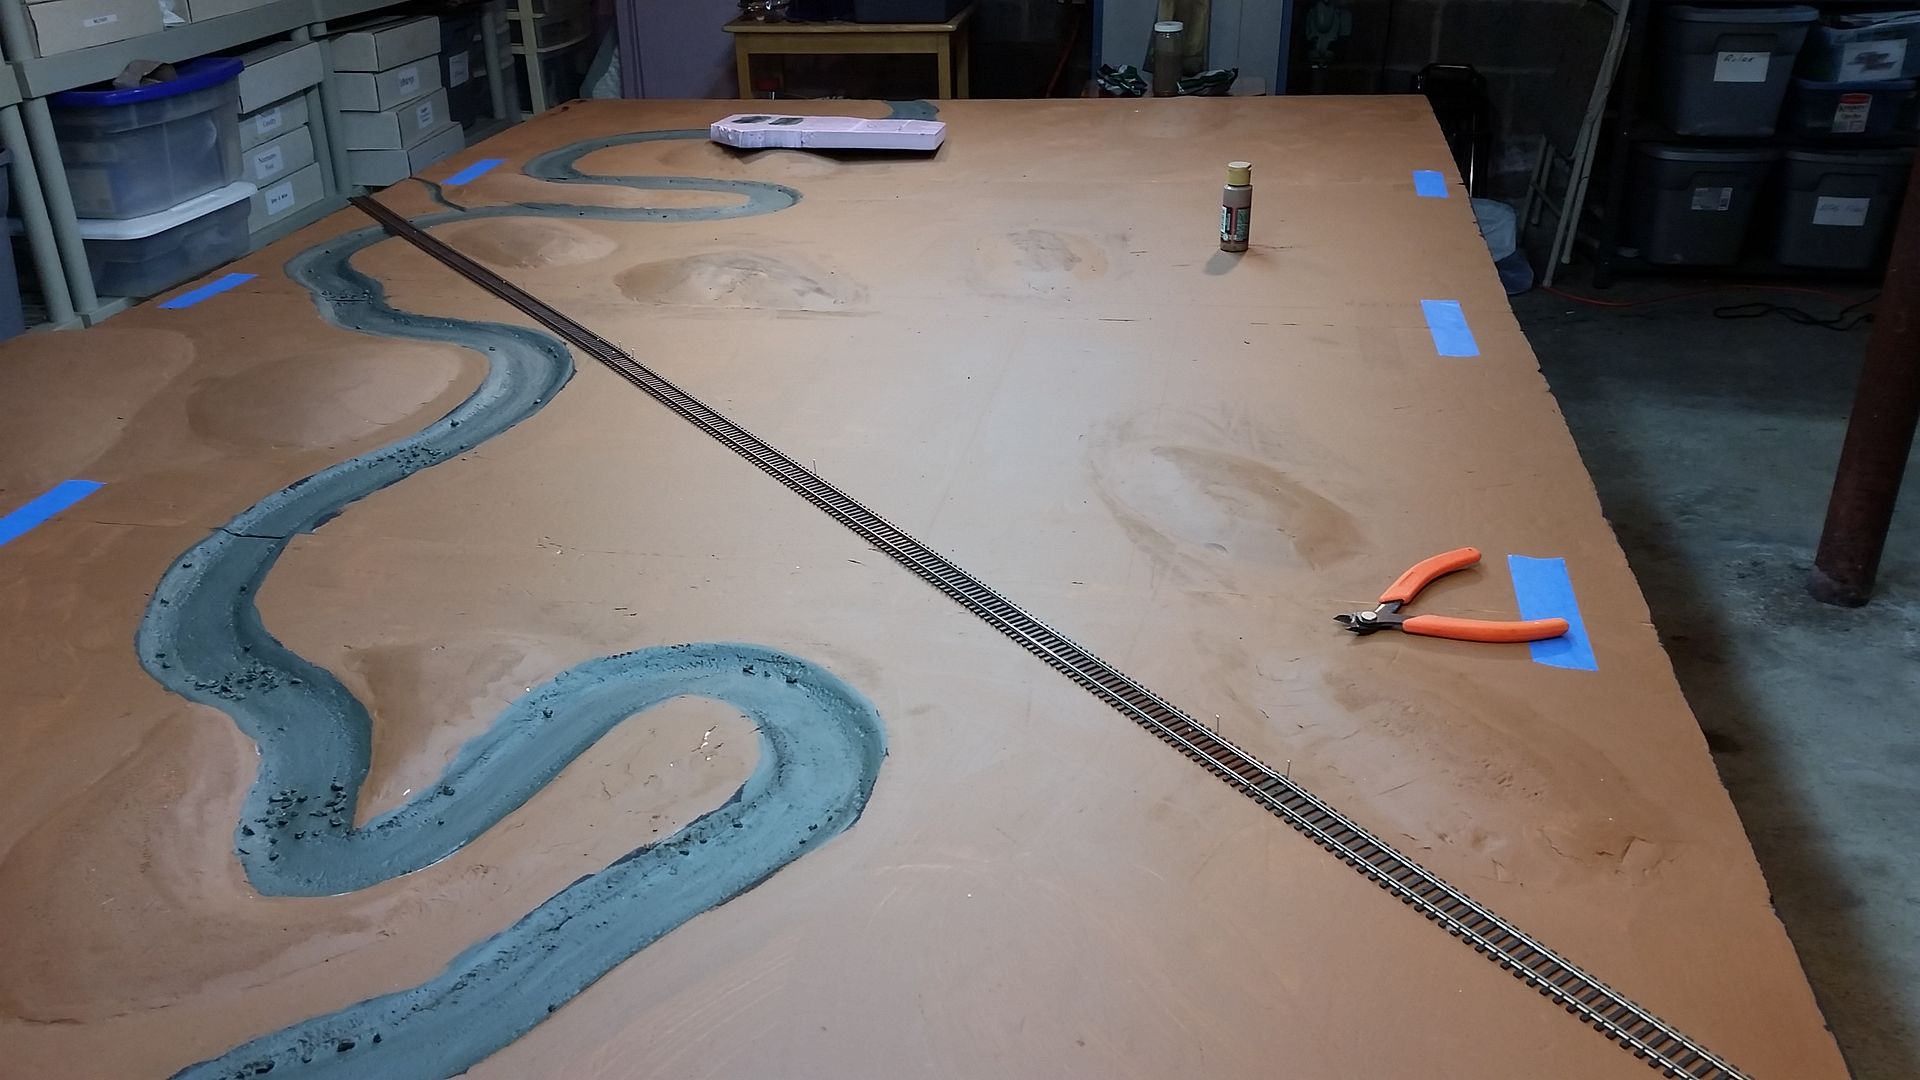
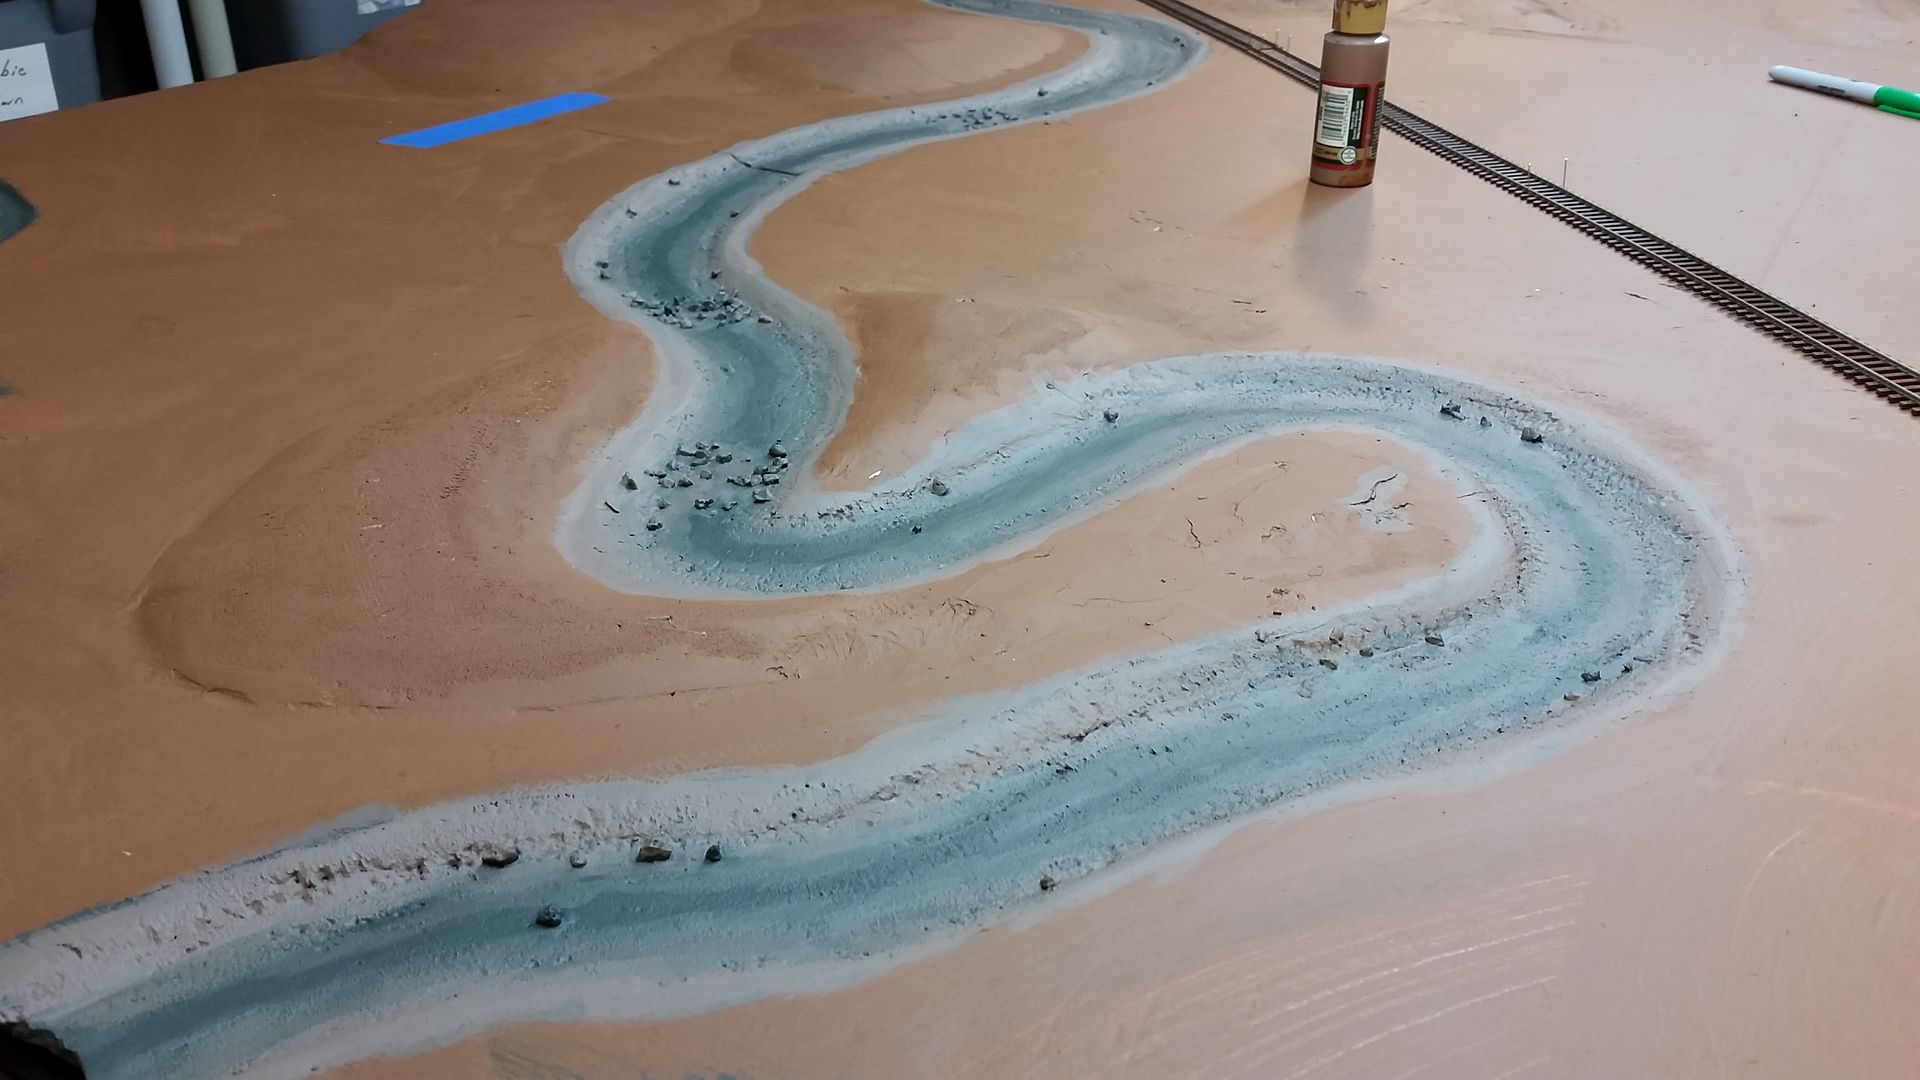
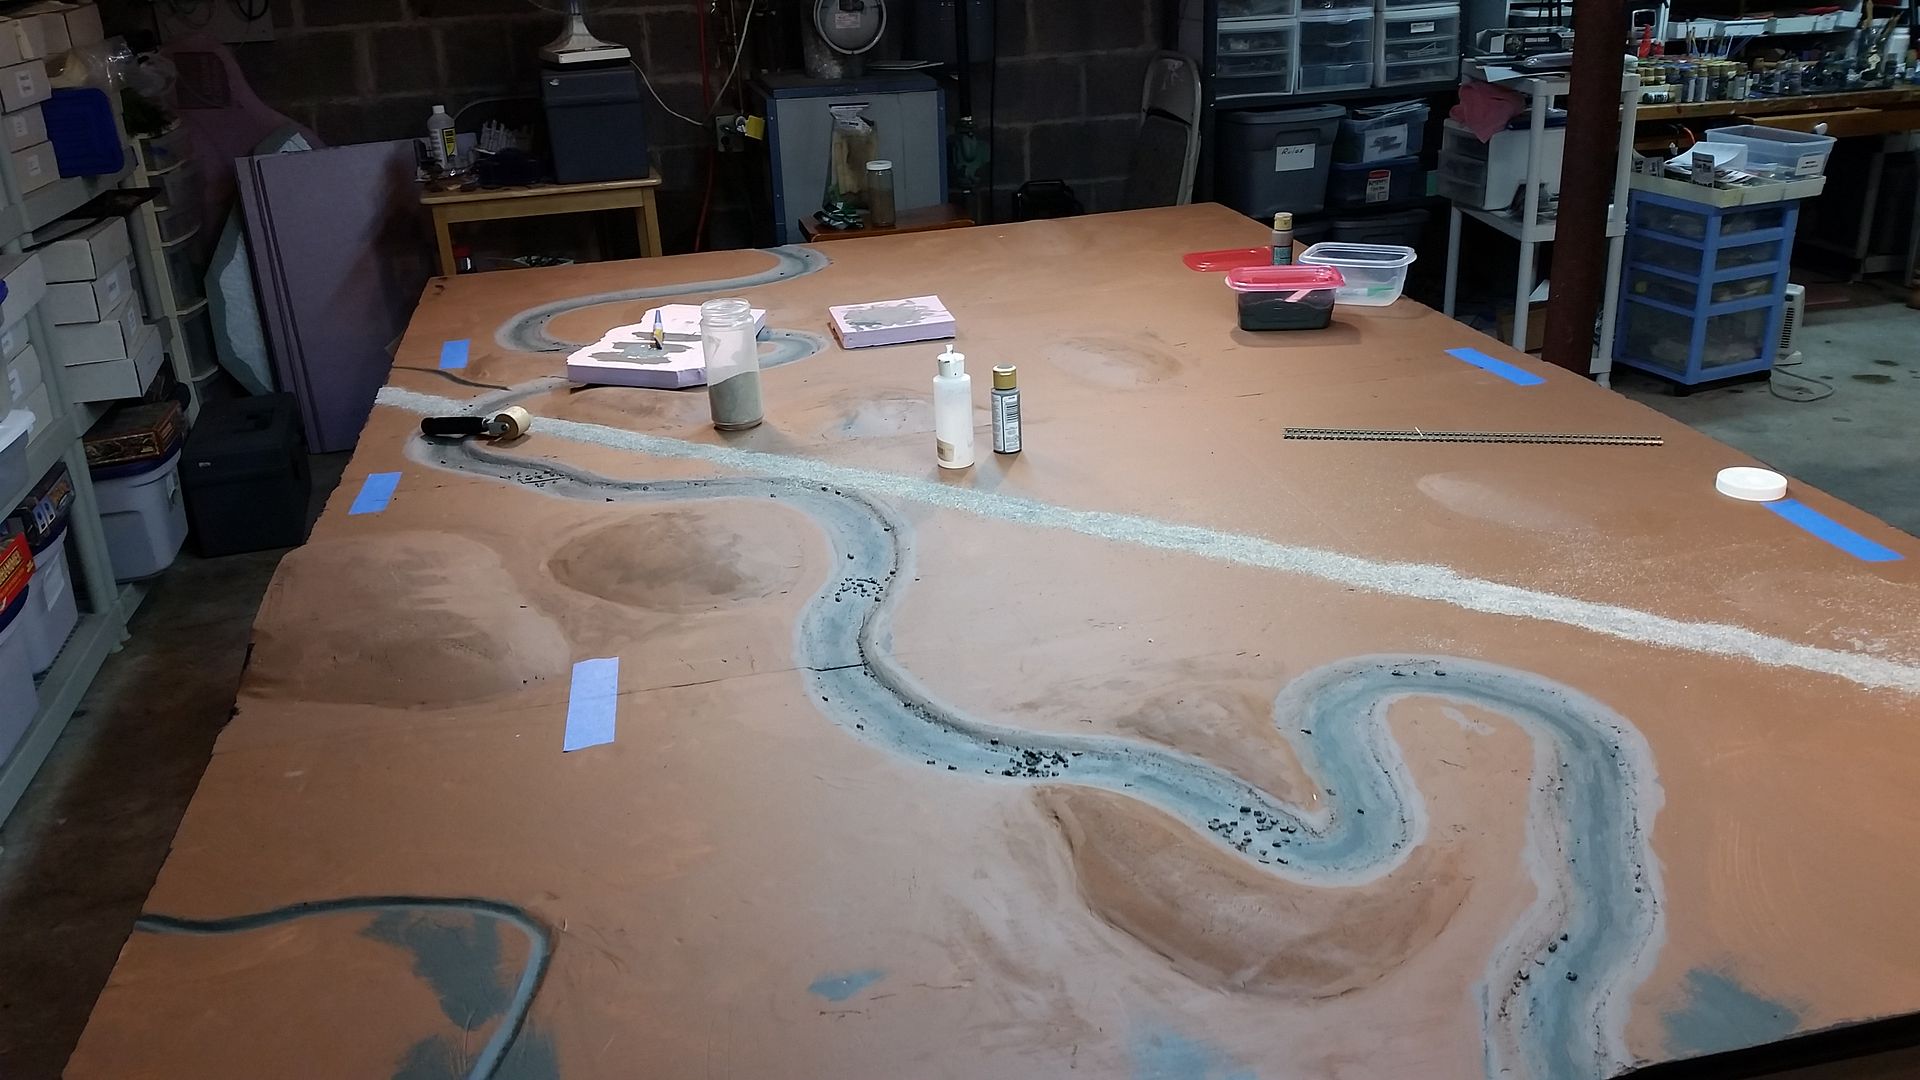
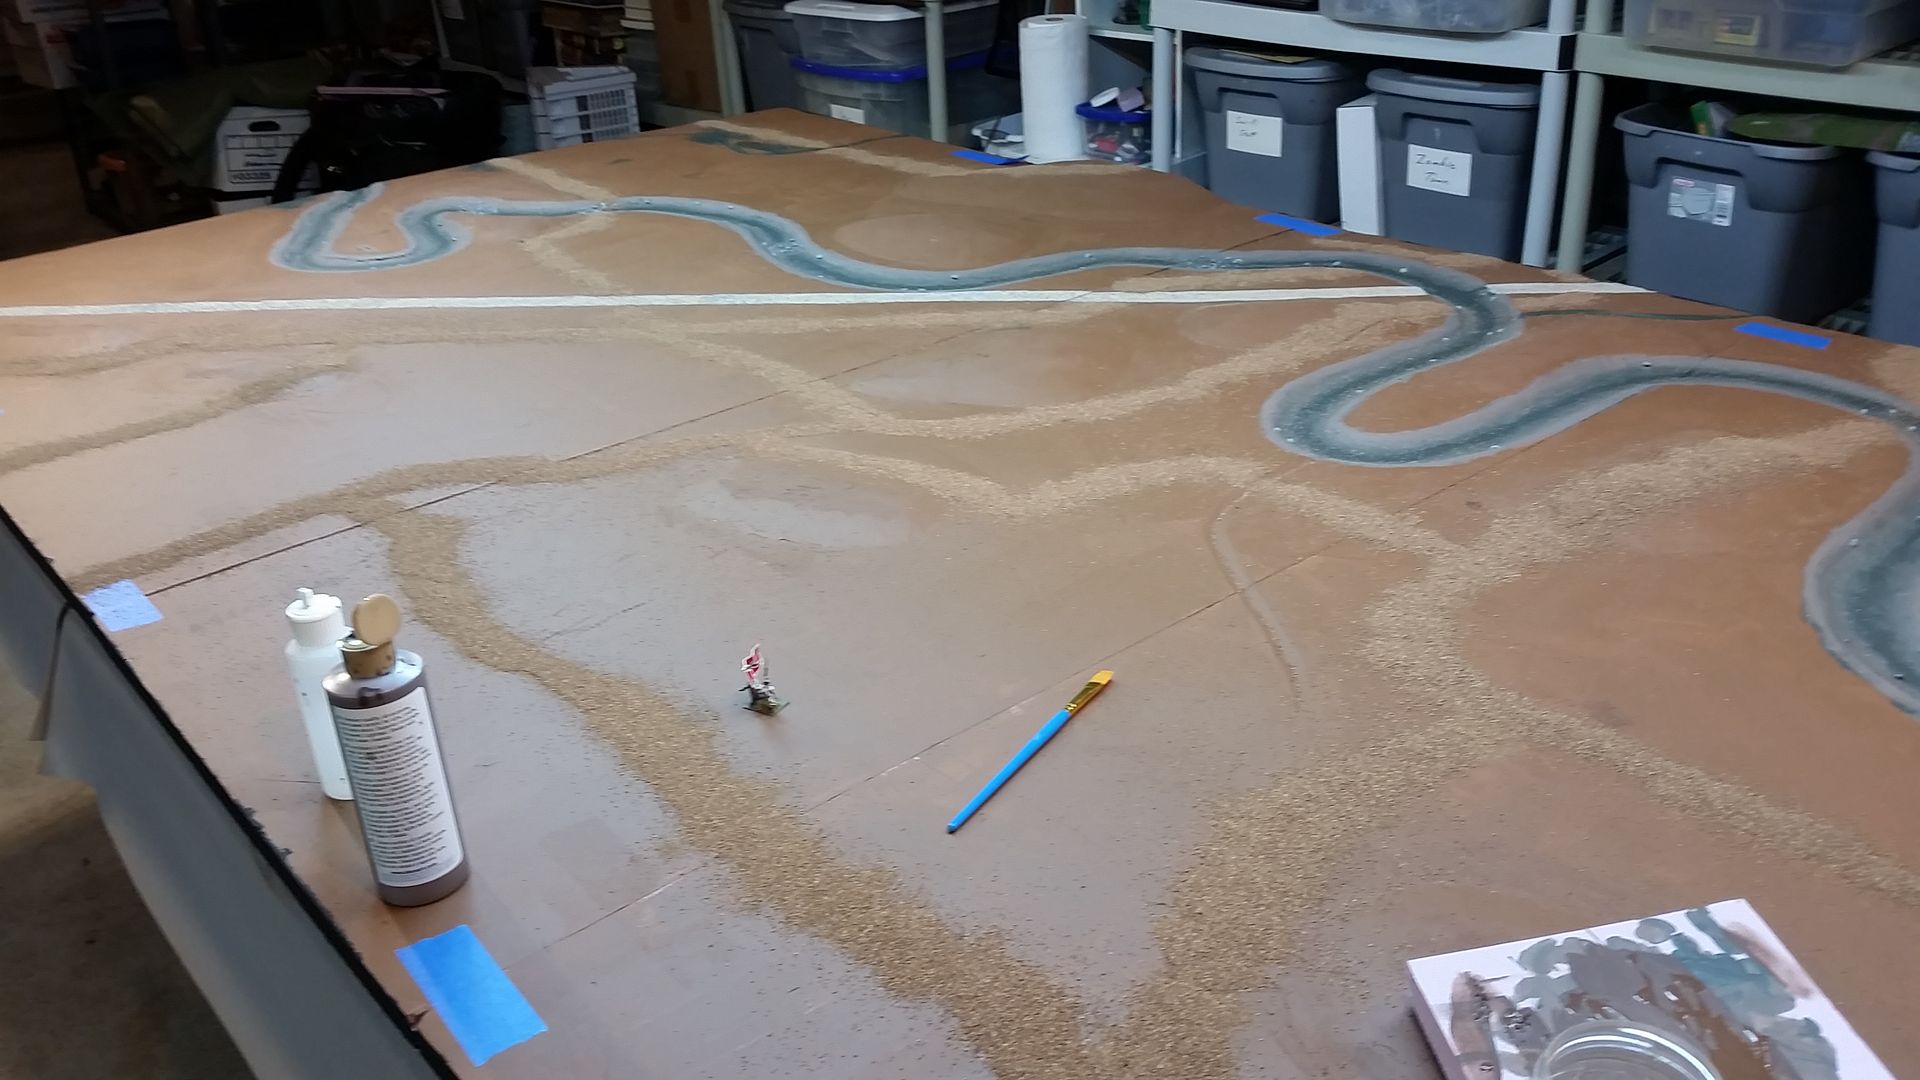
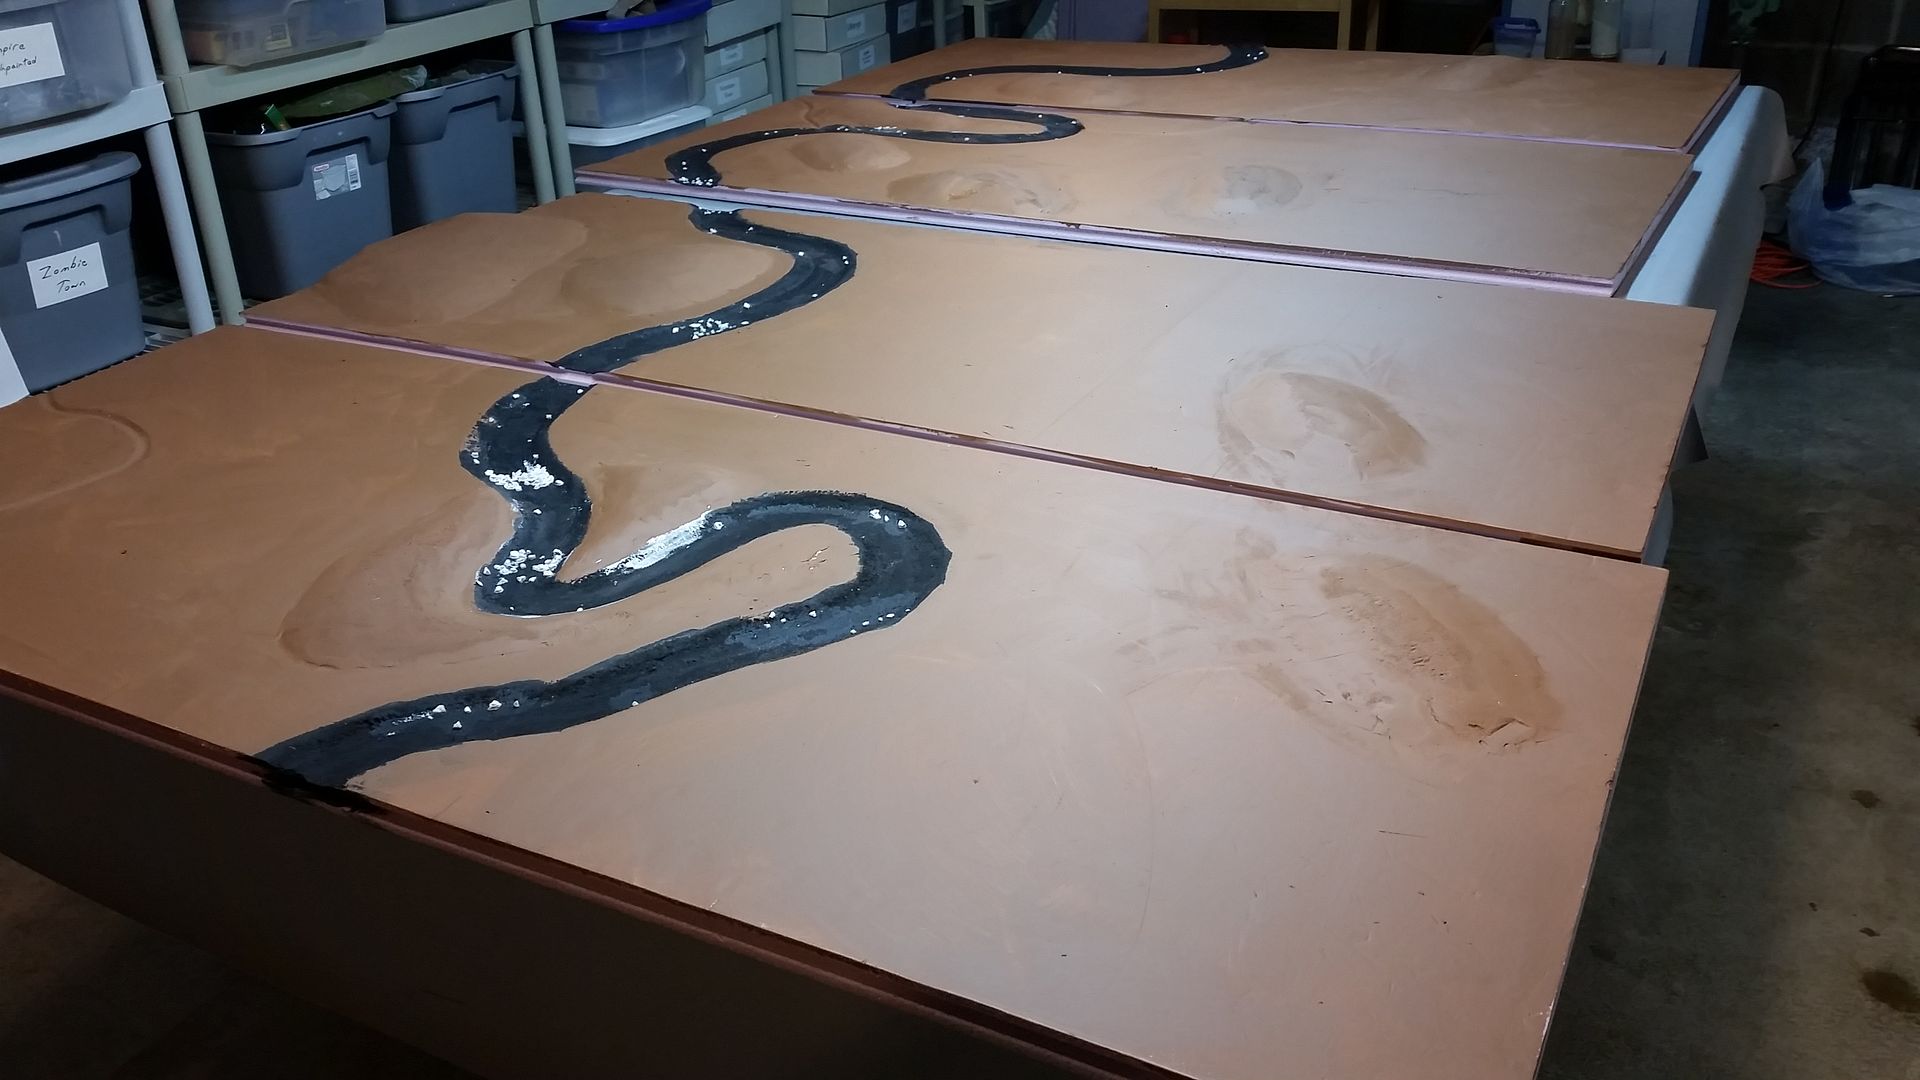
Prep work for the river pour of Woodland Scenics Realistic Water. We used tongue and groove insulation, which was a problem for getting a good seam at the board edges. In the futue, the board edges will need repairing after gouging out a river.

First pour, then you have to walk away from the table for a long time. I was very concerned about the milky areas, but over a weekend, they cleared up.

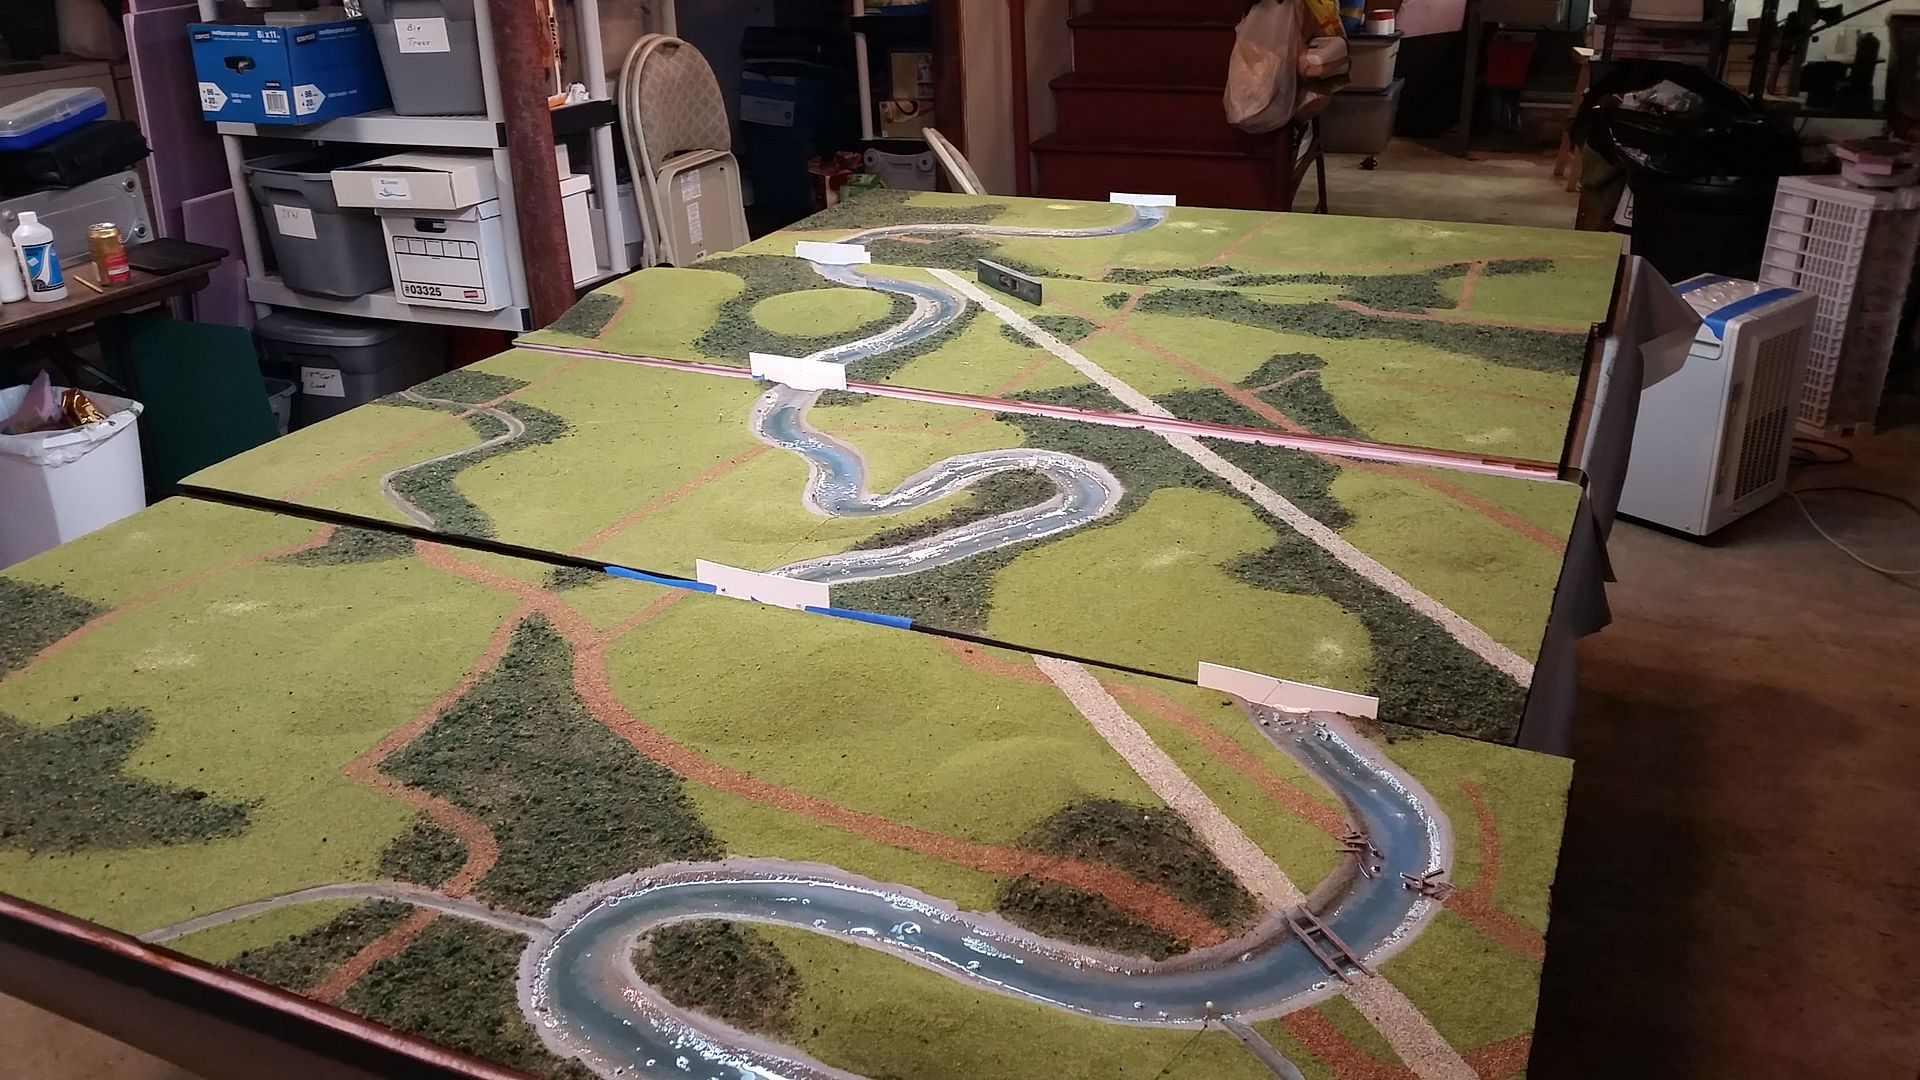
River section after one pour. Have time for one more pour before we head to Historicon.

Destroyed bridge again. 

And now I'm off to the dealer area.

Thanks for following along with my build, Xin

Tuesday, July 8, 2014

Building Stones River Battlefield, Part 3

We have less than a week till we leave for Historicon and still a ton of work to do. I lost most of the July 4th weekend due to family events so have some ground to make up.

I outlined a rough timeline for each day for the next week, we will just get it done.

So here are pics of work since the last update.


Laying some track

Painting the river bed to get that deep in the middle, shallow on the edge effect.

Close up shot. I'm really making this up as I go along. I've never done this before.

Different angle

It's hard to see the 3 or 4 layers of green to brown I put down in this pic. Also, the lighting adds a bit of blue tint to the picture. It's more green than it looks.

Laying down a gravel track bed. I put down a thick layer of paint and dump the gravel on top.

Then I use this roller thing to smush the gravel into the paint. I'll let this sit overnight and brush off the excess.

Rail bed done.

Painting the stones in Stones River. I need to go back and add more. But that will fall into the "if time permits" category.

We use the markers to layout the roads. Then go back with a Sharpie to draw the roads in.

We use the same technique for the roads as we do the railway. We paint the road, then drop the brown gravel on top of the wet paint. Then we mash it down with the roller. All the roads are done.

Different angle.

Building a trestle for the rail over the river.

Test fit. I might go back and "flesh out" the trestle some. But it works for now.

That's it for now. We will do the fields and woods tonight. Then basically the only thing left is to pour the river.

Xin

Thursday, July 3, 2014

Building Stones River Battlefield, Part 2

So when we left off I had finished a rough carve of the river and hills. I've made some good progress since then, but not as quick as I thought.

One of the issues we are facing is some of the techniques we are using, we have never done before. So there is a lot of experimenting and testing, and discussion before we start the next step. Regardless we are moving forward. Here we go.

I've got the hills sanded smooth and ready for gluing. And I painted the river bed, to seal the foam and give me a black base to work from when I paint it.

I like to use Liquid Nails when gluing foam. A quick raid of the garden for some gravity helpers.

While that's been going on I've had some test pieces going on to figure out how I will paint the river. Here are 3 test pieces.


I think I like the last one best, so the river bottom will be a green. My technique still needs a lot of work.

Here I'm using a light weight spackle to smooth out the hills allowing figures to stand anywhere on them without falling over.

Testing the hills.

Here I'm testing to see if I want to put in a raised railway. I'm using Foamcore which has been stripped of it's paper. After this test we decided it was to high. We will lay a gravel bed for the track.

Most of the testing is done and we know how we are going to proceed with the rest of the build. Without testing we should move along at a good clip. Laying down a base ground color.

Using small stones that will denote the 4 Fords that are used during the battle. These will be painted after the river bottom, then the Realistic Water will be poured on top of them.

I sprayed glue on the stones, letting that dry overnight.

 Next up will be painting the river bed and start the roads. The roads will be a fine brown gravel or ballast, then will flock the woods and fields right up to the road edge.

That's all for now, Xin