Thursday, October 30, 2014

Building Marengo Battlefield, Part 4

All the pieces really starting to come together now. When you have vacation to burn or lose, it really helps the production.


I'm making a bridge that goes over the Bormida River.

There are a couple of streams with roads that cross them. One of the accounts I read talks about storming across a wooden bridge so these will be simple wooden bridges.


Test fit on the river. I will need to carve out some foam to make it fit.


Building a dam, for the Realistic Water pour. I got 5 minute epoxy. Sets in 5 minutes, but takes 24 hours to cure. Not sure what the epoxy and the realistic water will due to each other, so playing it safe and waiting the 24 hours.


Some of the accounts we read talked about walled farms or villages. I had some Time Cast walls that we used to make this village, it's late, can't remember which. We did it more for looks than anything else.


This is the shot of the vineyards. I had initial thought I'd just go brown paint but it looked like crap on our test piece. So I added this sandy dirt color mainly for the texture. Not super happy about the color, but all the other colors I had were already on the table as fields.


My friend dropped the buildings on the table just to get a feel for how they would look. He scratch built these. That's Marengo in the middle.


Not only is my friend a great scratch builder and sculpter. He is an amazing painter. He is doing all the French. I just started grassing the bases.

Tomorrow I will start the vineyards and pour the river, Xin out.


Wednesday, October 29, 2014

The Elementals

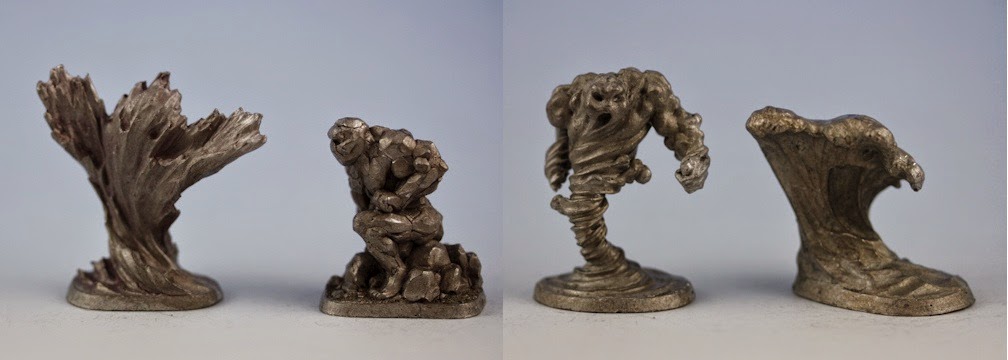
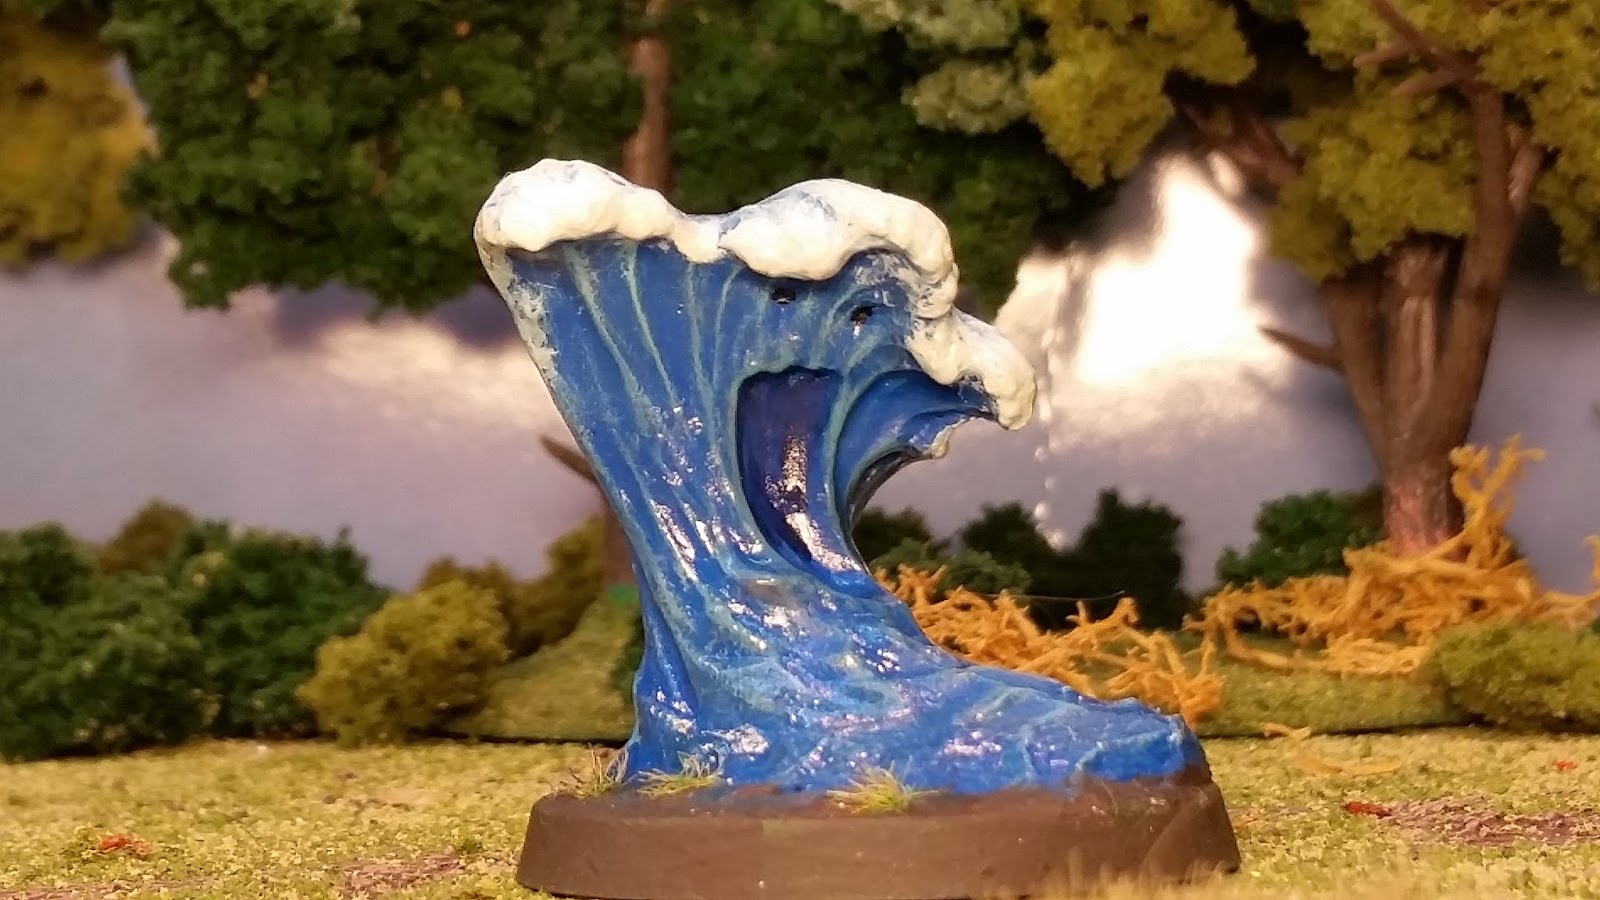
Do you remember these? Ral Partha Elementals.


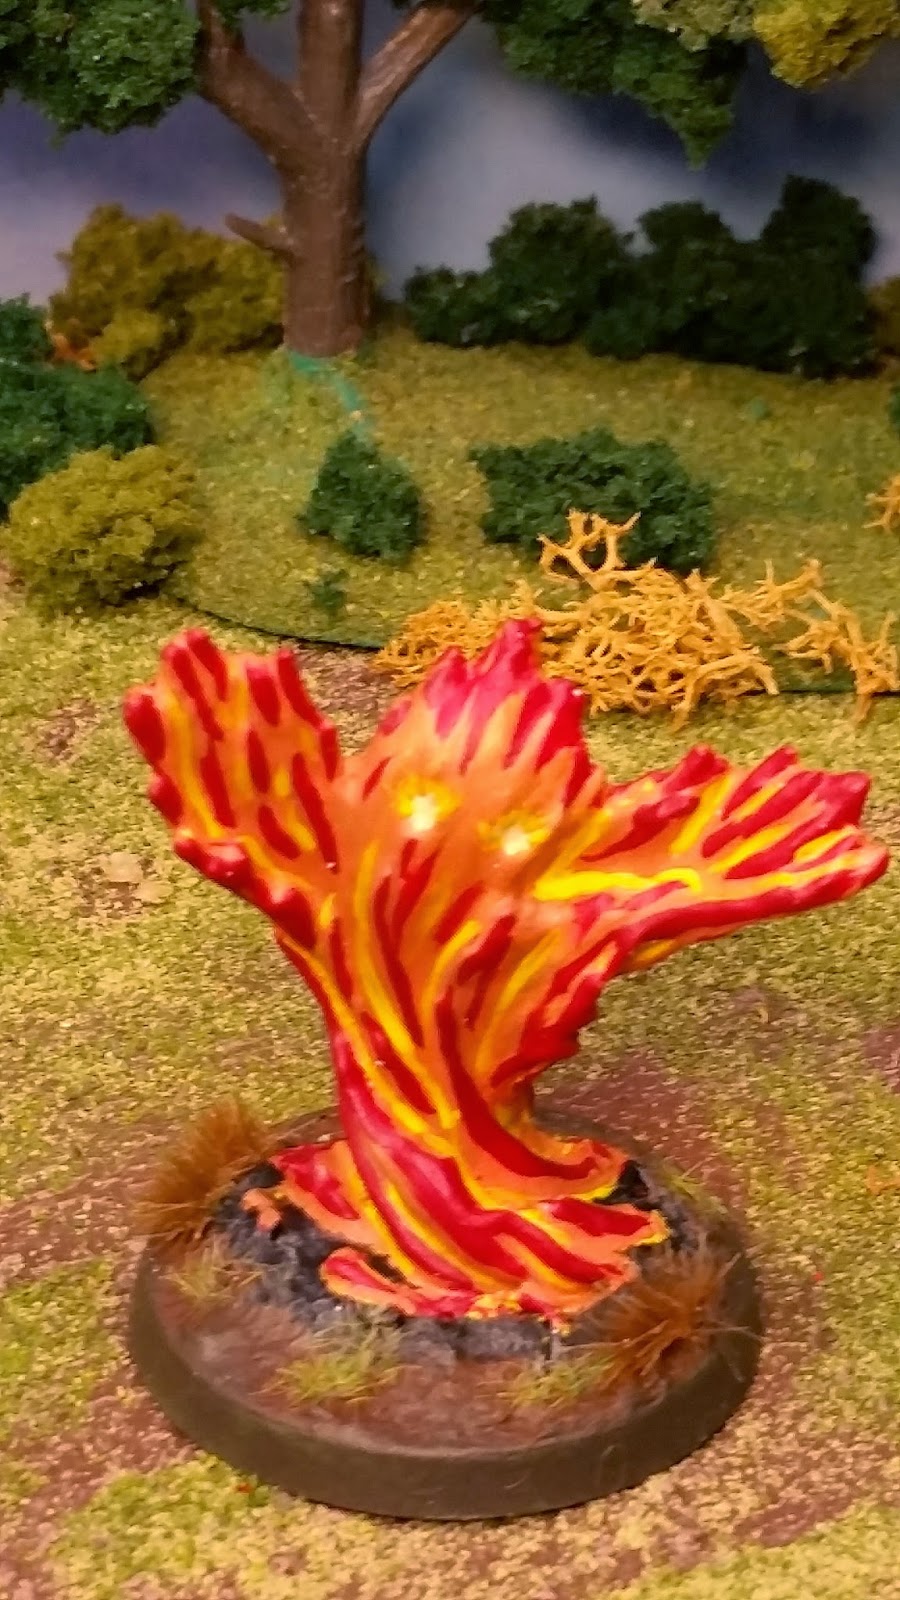
About 20 years ago I bought these for playing D&D with. I only painted the Fire Elemental and poorly. I made the common mistake of reversing the light and dark colors of fire.

Well recently I came across them when I was looking for something else. So of course they hit the painting table, it was "new and shiney". And other projects got pushed back, LOL. So I rebased them all and got to painting.


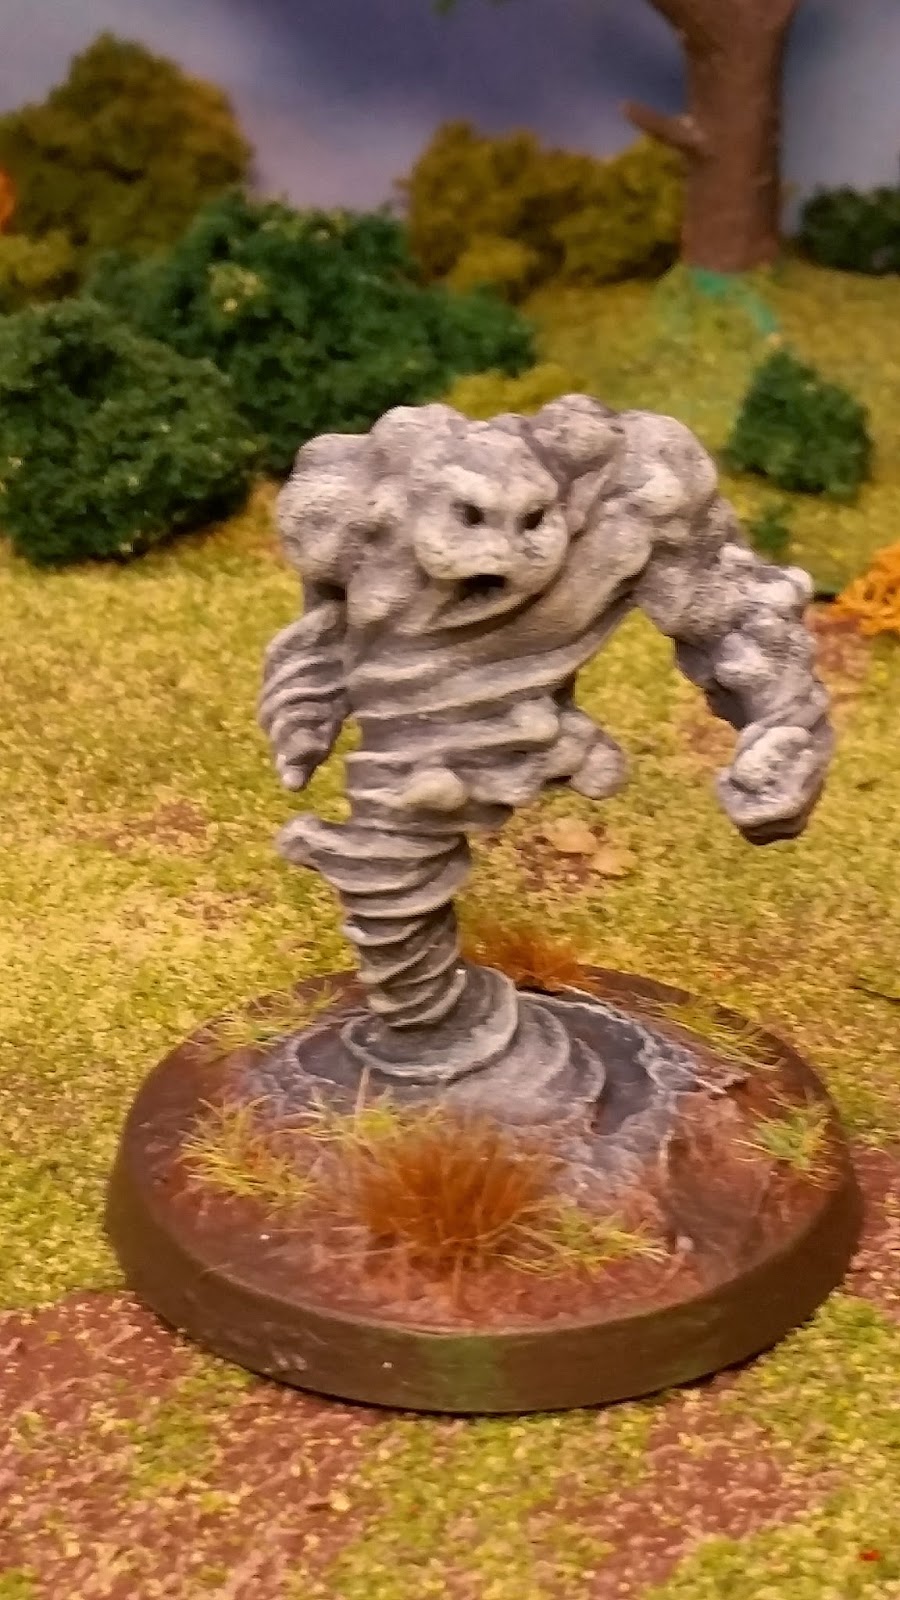
Based on GW 40mm base. I like this as my standard go to monster base.

I love the "faces" that these guys have.

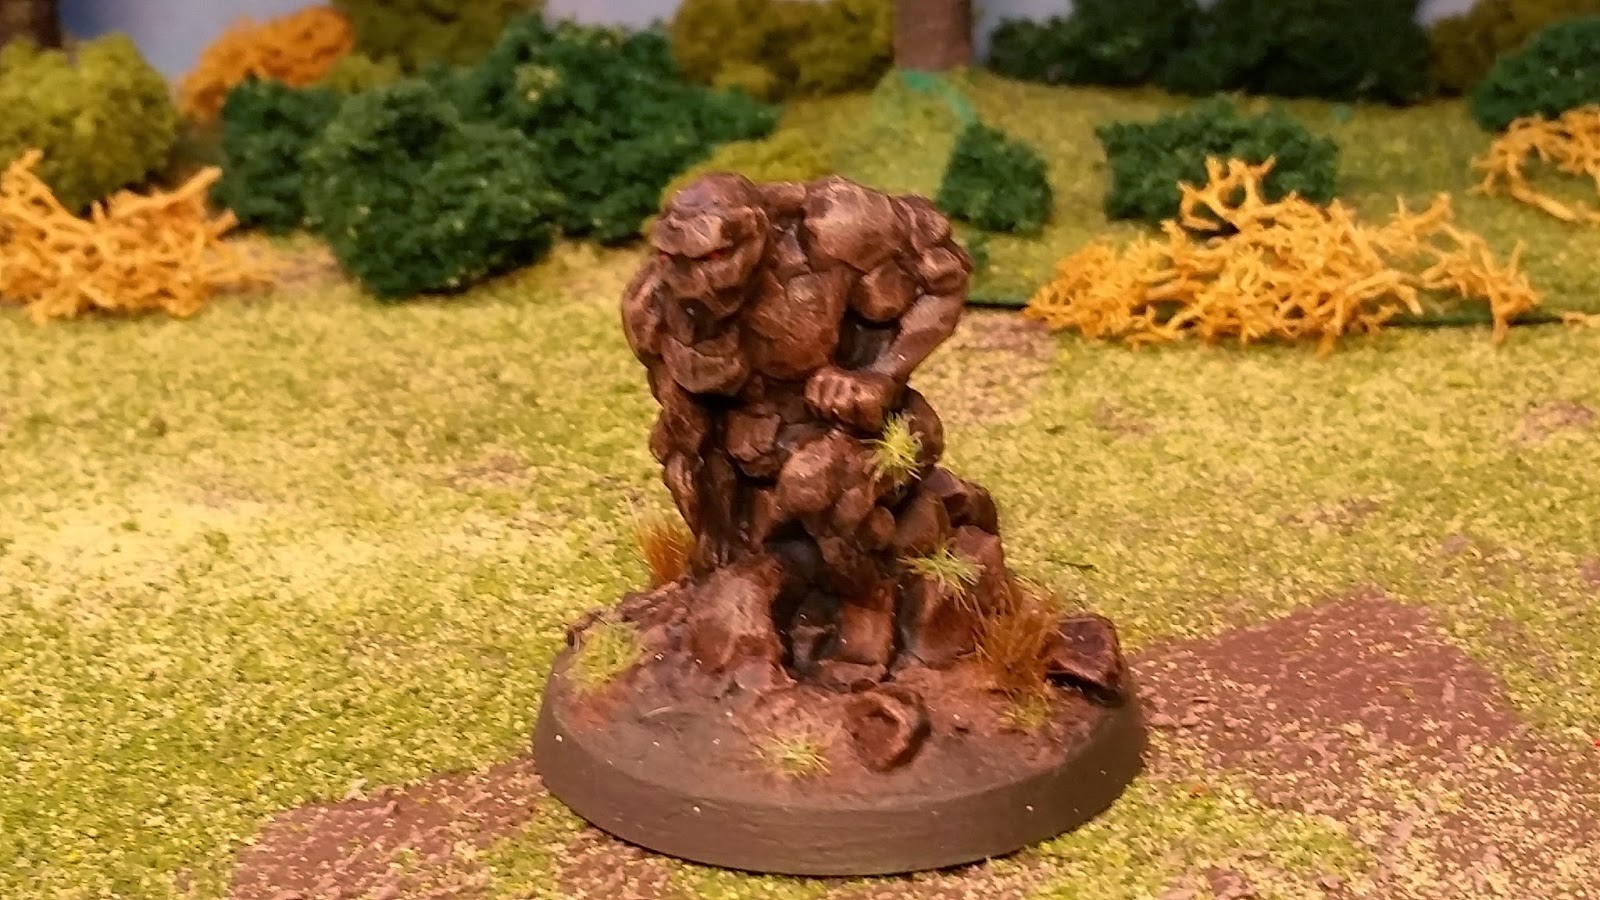
Earth, Wind and Fire!

I spent a lot of time trying to integrate the figure onto the base.

I like how the charred ground came out on this one.

I was very happy with the basing effects. Sometimes you have an idea of what you want, but not sure how to pull it off on the base or figure.

This was the hardest to blend. I think the blue works for the elemental, but smearing blue on the base doesn't. This was the weakest of the bases.

One funny thing I noticed about these. I thought the Fire Elemental would be easy to paint and the Water and Air would be hard. It was the complete opposite. Painting Flames is a pain in the ass. Yet the Water and Air was some simple dry brushing, just had to find the right colors.

Hopefully these will hit a D&D table near me soon.

Mounted Saxon Hearthguard

I know most likely Viking era Saxon's didn't fight on horseback, but for the Saga game, I can mount some of my Hearthguard. At Historicon I picked up a box of Conquest's Norman Knights. They come with both a kite shield and a round shield, so they can proxy in for mounted Saxon's. In between flocking the Marengo battlefield, I've manged to get a few figures painted. Mainly while waiting for things to dry.

Here is my first 4 mounted Hearthguard. This should give my Viking opponent some trouble. Dang it, I should have painted up a mounted Warlord as well.


 The bases are the "grab a box and fill bases" from Gale Force Nine, that they bring to the conventions. I used a grinder to give the base a beveled edge.


Just checking the Saga Northern Fury rules and I can mount ALL my Hearthguard! More to come!

Xin

Monday, October 27, 2014

Building Marengo Battlefield, Part 3

Here's a quick update on where we stand with the Battlefield that we are getting ready for Fall In.

It's most just flocking fields right now. We want to get all the fields done before we tackle the river pour and the vineyards. Saving the hardest for last. Unfortunately drying time for the fields in a basement is never very quick. Got the Dehumidifiern working overtime. 


While waiting for fields to dry. We started doing hedge rows between fields.


Slow progress, but progress


Uncultivated land around the river. From the looks of some of the maps of Marengo, this is pretty soggy ground.


Lots of hedges


Almost done

 I think in this shot, there is only 2 fields left to flock.


Painting the river, a muddy brown, green mix. Trying for that deeper in the center look. I have some bridges that I'm working on that I forgot to take pics of. There's one big bridge over the river, and some smaller bridges over the streams. Also a pontoon bridge.

That's it for now. I hope to pour water tonight or the next. We have just over a week left.

Xin
  

Wednesday, October 22, 2014

Building Marengo Battlefield, Part 2

So our building continues on Marengo. Lets dive right in.

When we last left our tale, we had done a rough cut on the hills.

 Using a random orbital sander to smooth out the hills. Do this outside as the dust is toxic.


Gluing the hills down to the table with Liquid Nails.


 Carving out small streams with a dremel and a router attachment I picked up at a garage sale. The cutting Dremel bits really work well on the foam. The grinding bits melt the foam.

Using lightweight spackle to make the hills gentle rises. So spackle, let dry, sand, spackle, let dry, then finish sand.


We also use spackle in the river bed. The Surform leaves big holes sometimes, and lots of nooks and crannies.

Adding really low hills to the river loops, more like gentle rises. Using foam core.


 Spackling the low hills.


 We have previously drawn out the road network. Now we will lay down the road surface. With the road network down, this will help us work out our patterns of fields.


 We paint the road down, then dump a ton of Woodland Scenics Fine Brown Ballast on the paint. The paint makes a great adhesive and if the ballast comes up, the brown surface helps hide the missing cover.

We take the boards apart, and dump the excess ballast on to newspaper so we can dump it back in the bottles. No waste. Here is the road work after dumping the excess.


 Blocking out major terrain features. In this case, vineyards. Marengo had a lot of vineyards. We are not sure how we are going to do the vineyards, but we have some ideas. When trying new things we do a lot of experimental builds on scrap foam board.


The fields are laid out, and we start flocking them.


 We use the same process for fields as we do the road. Use paint as an adhesive. Pour a ton of flock on the boards. Let it dry and dump off the excess and recover it. We do one color at a time to stop the flock colors from mixing.


 More colors added. This process is a bit slow. We pour the flock on the paint and have to walk away for a few hours till it drys. We could dump off sooner I suppose, but we want to make sure the flock sticks.


Now it's starting to look like a battle table.


Next build, more flock, more flock and more flock. Also start on the river, getting it ready for the water pour. And the daunting task of the vineyards.

Xin

Thursday, October 16, 2014

Mordor vs Galadhrim, Battle Report

The title of this post should be "I am the worst general Mordor has ever seen".

Last night 2 friends came over for a game of LOTR. We use the Strategy Battle Game. Not all, but most of my group love the way it plays. I had recently painted up 6 Fell Wargs and The Warg Chieftain so I wanted to give them spin on the table.  So we did Orcs vs Elves at 700 points.

The Elves were 24 Galadhrim, 3 captains, a Storm Caller and maybe 12 or so Wood Elves as we ran out of Galadhrim.

The Orcs were 6 Wild Wargs, Warg Chieftain, 4 Warg riding Orc Captains and a Shaman, leading about 40+ Orcs. All spears and swords, no bows.


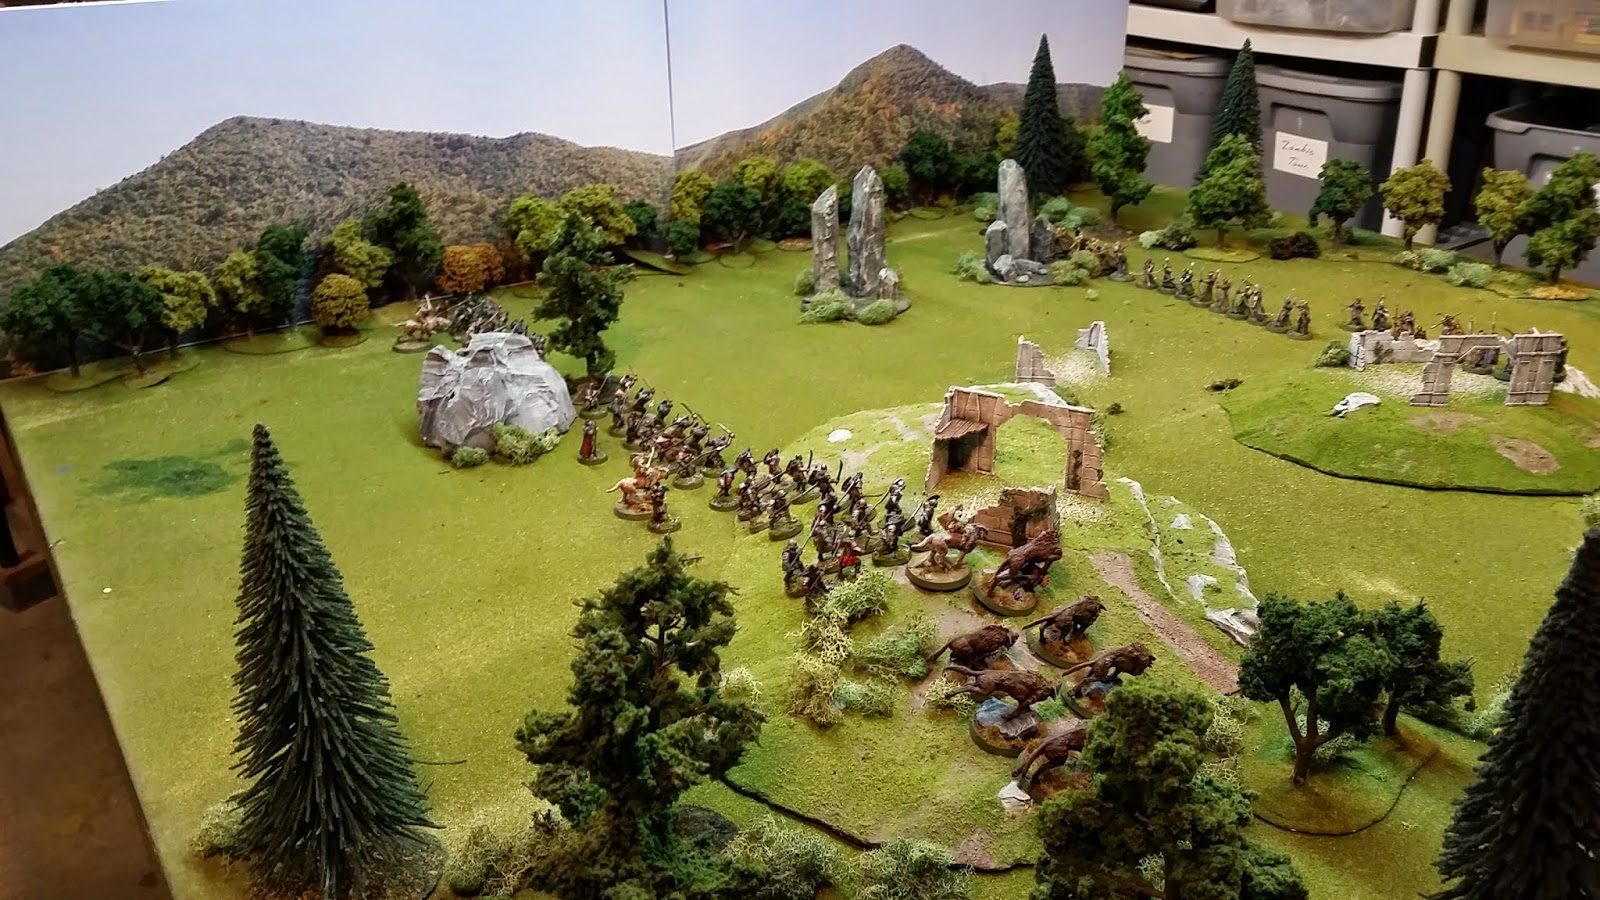
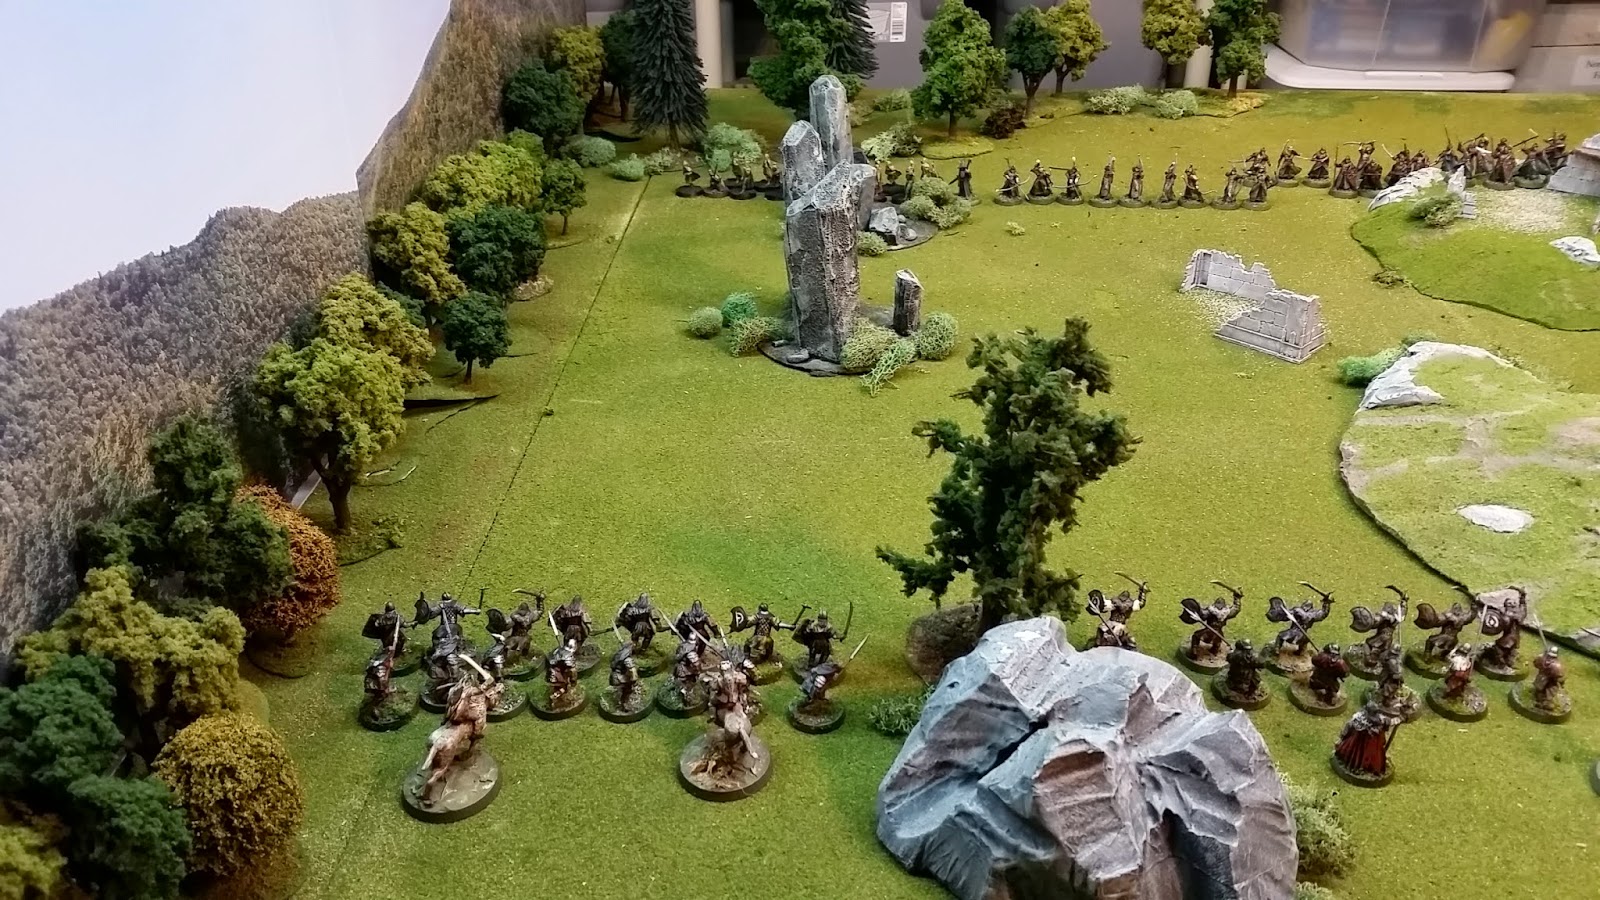
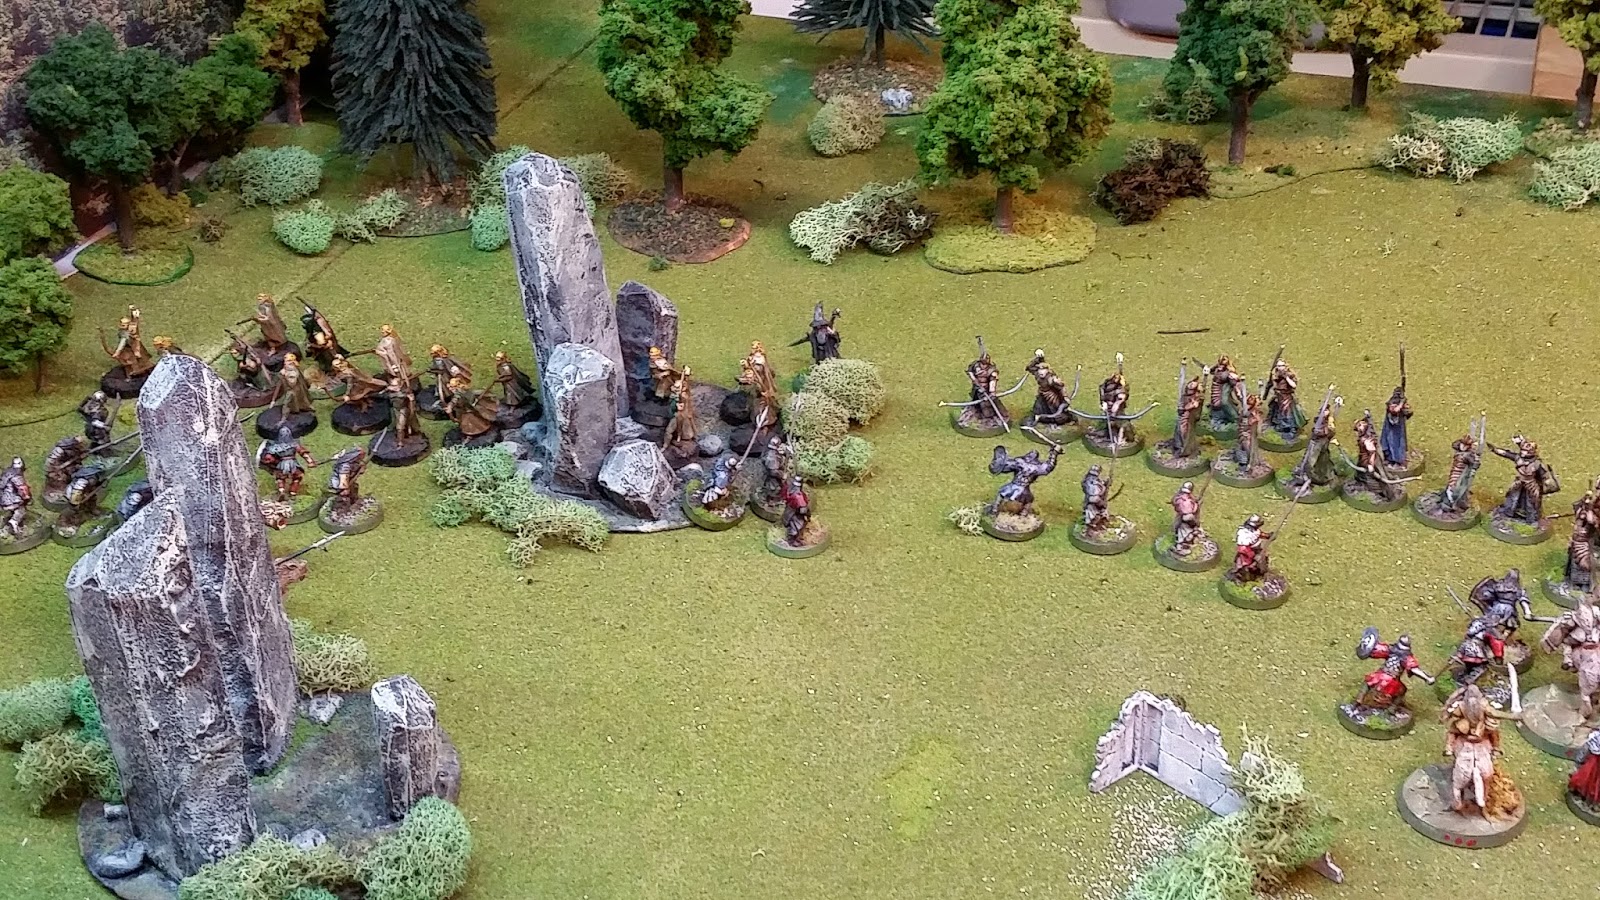
Establishing shot. Orcs in foreground, tree huggers on the farside of the table. set up 2 feet apart. The Elf General set up the table. Note the lack of cover.......


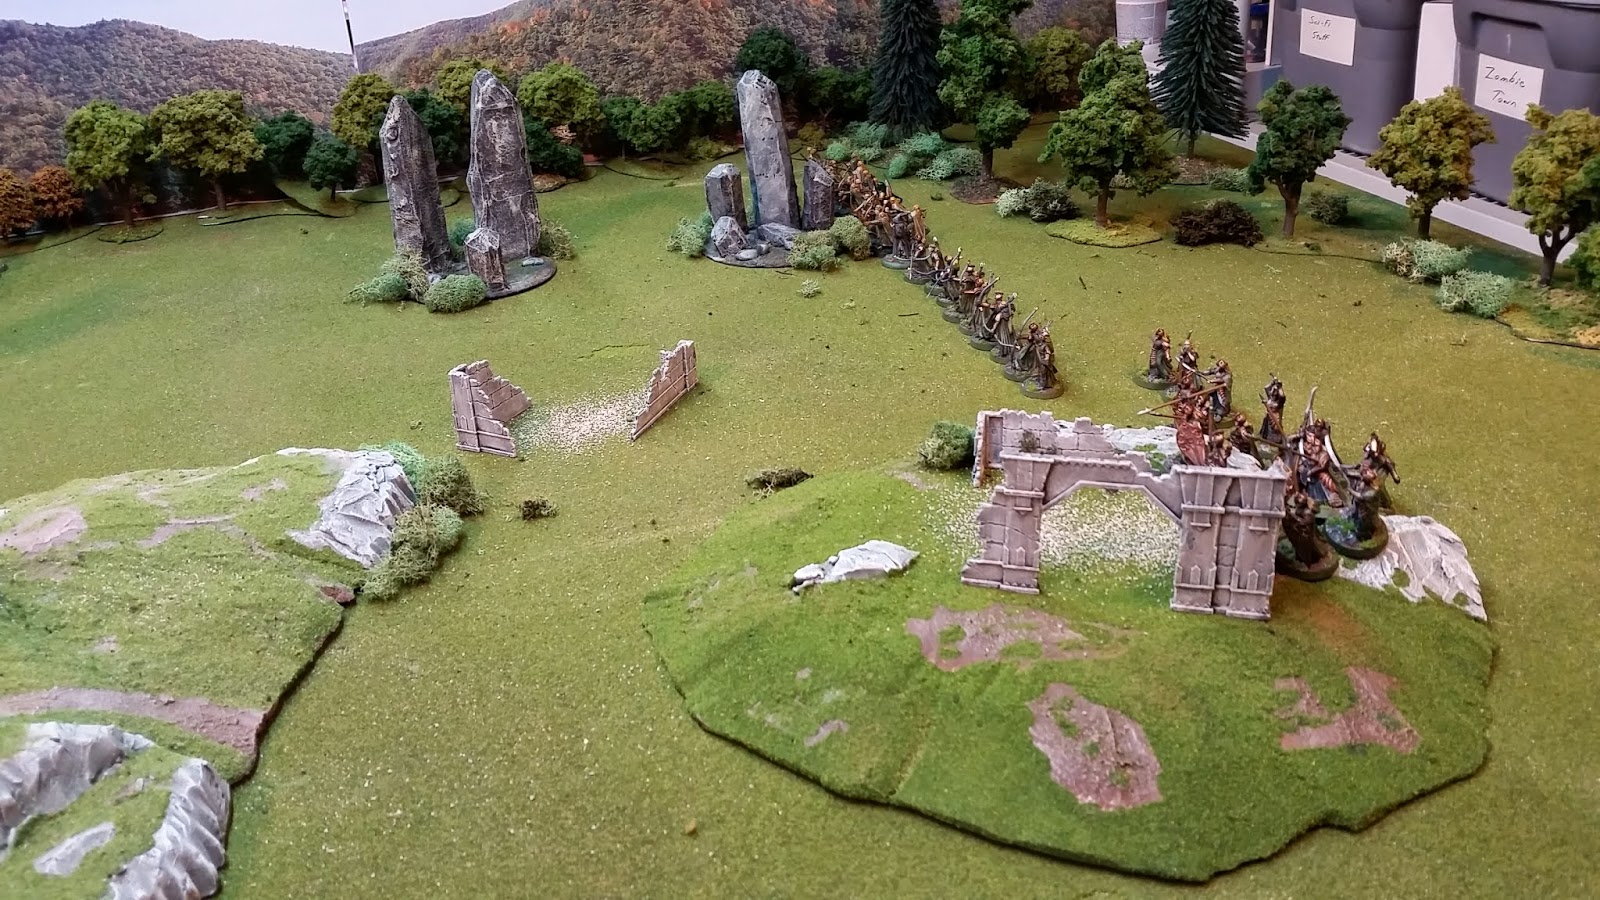
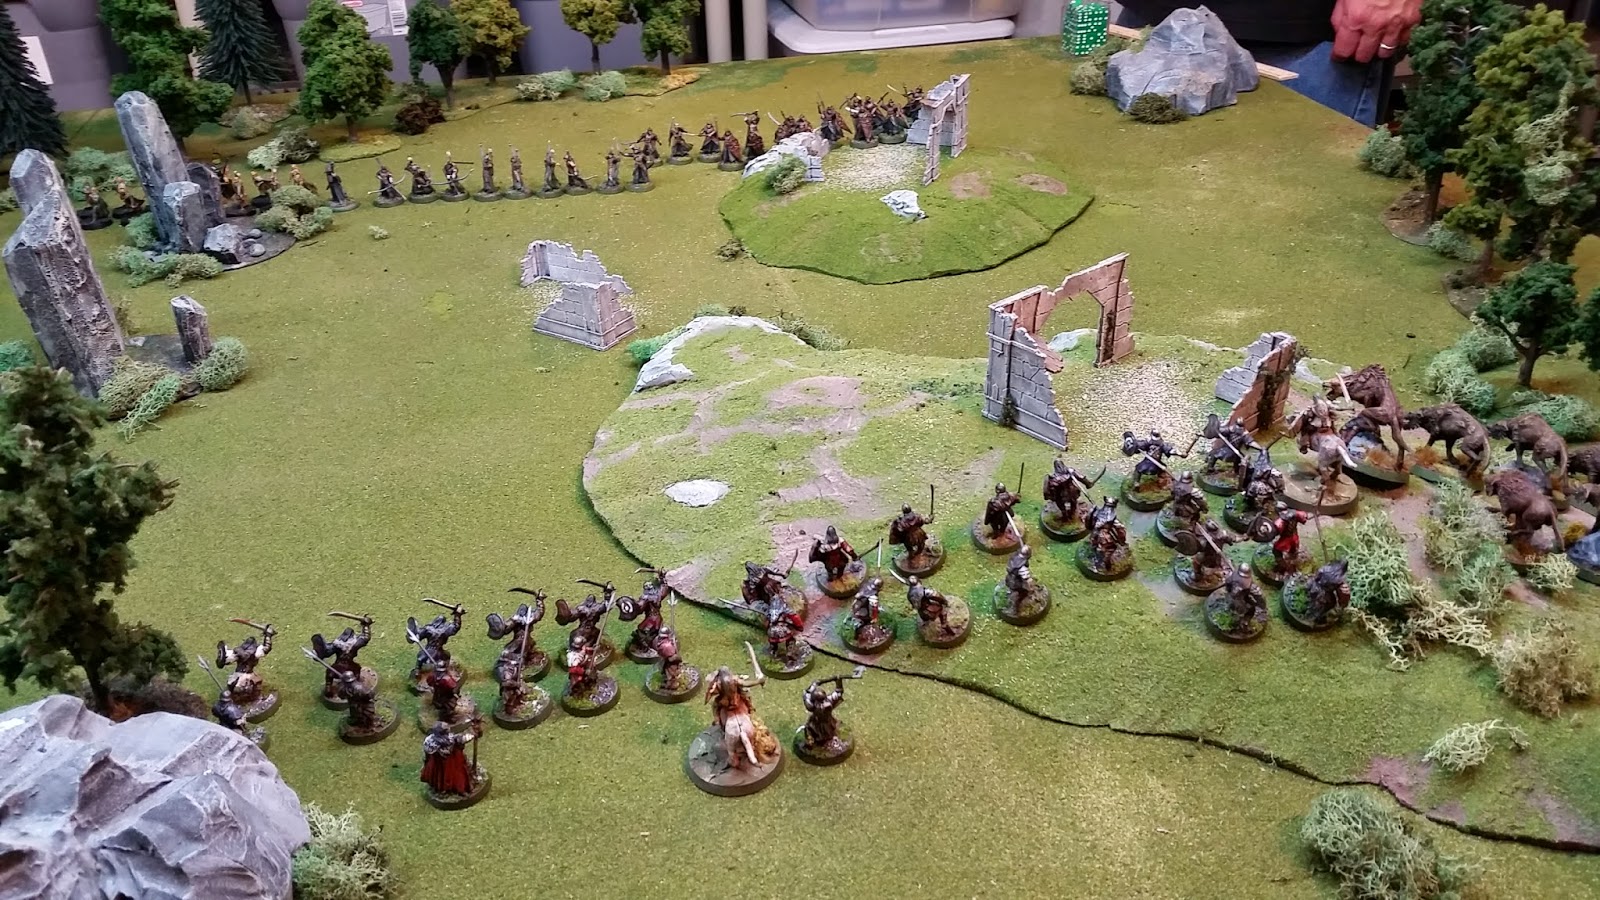
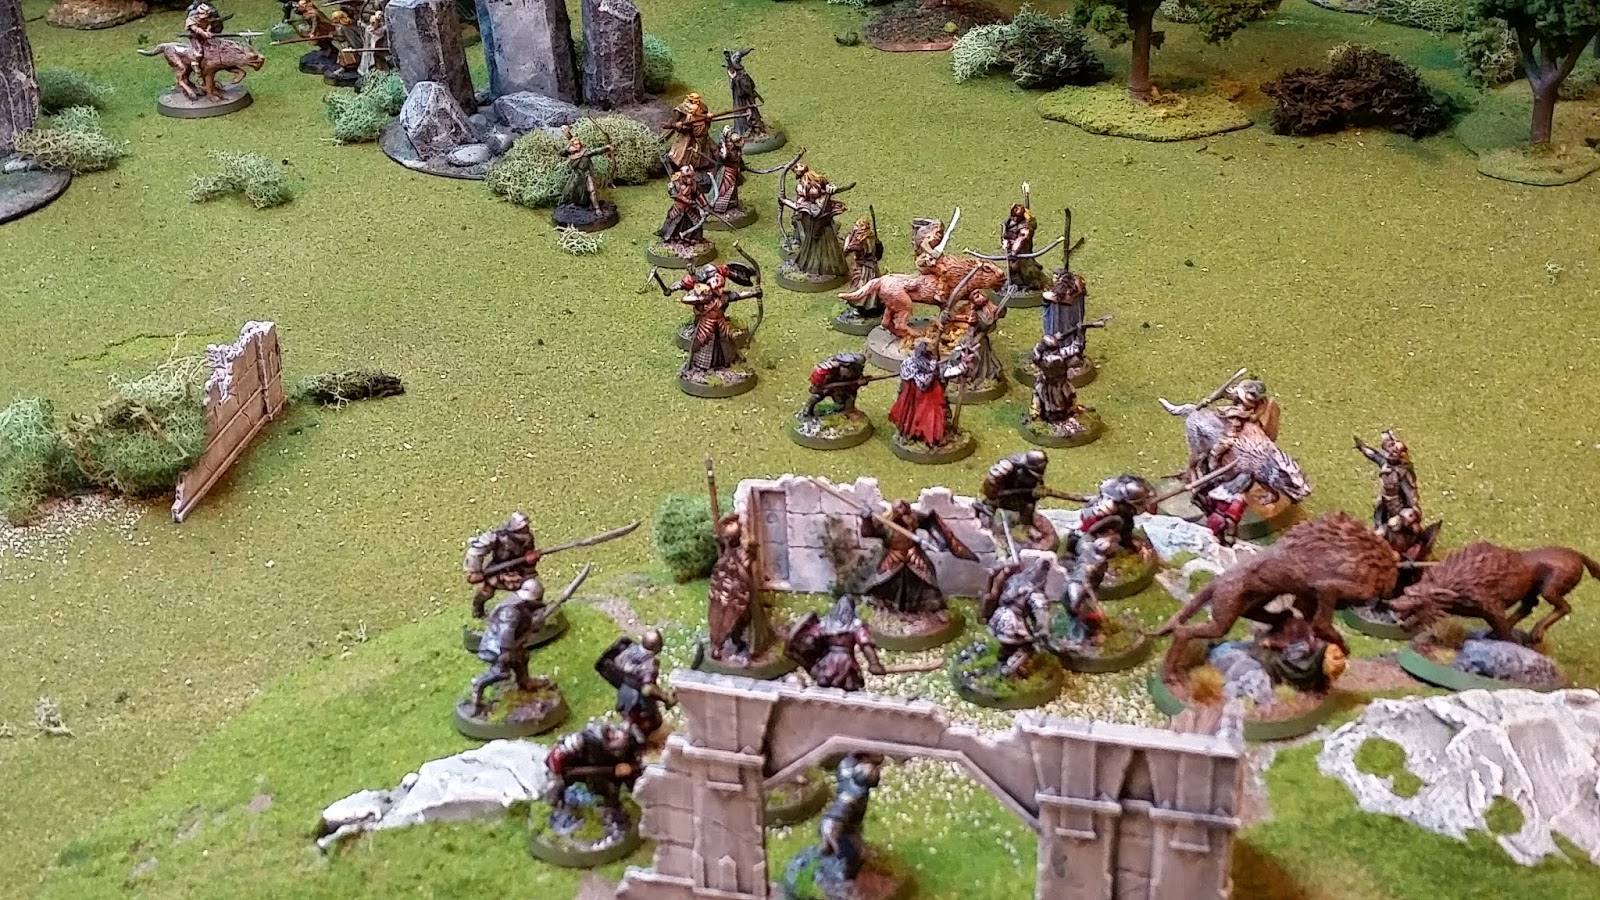
Closer shot of the Elf battle line. Wood Elves on the far end of the line. Galadhrim Archers Center, Spear and Sword in the ruins on the hill.


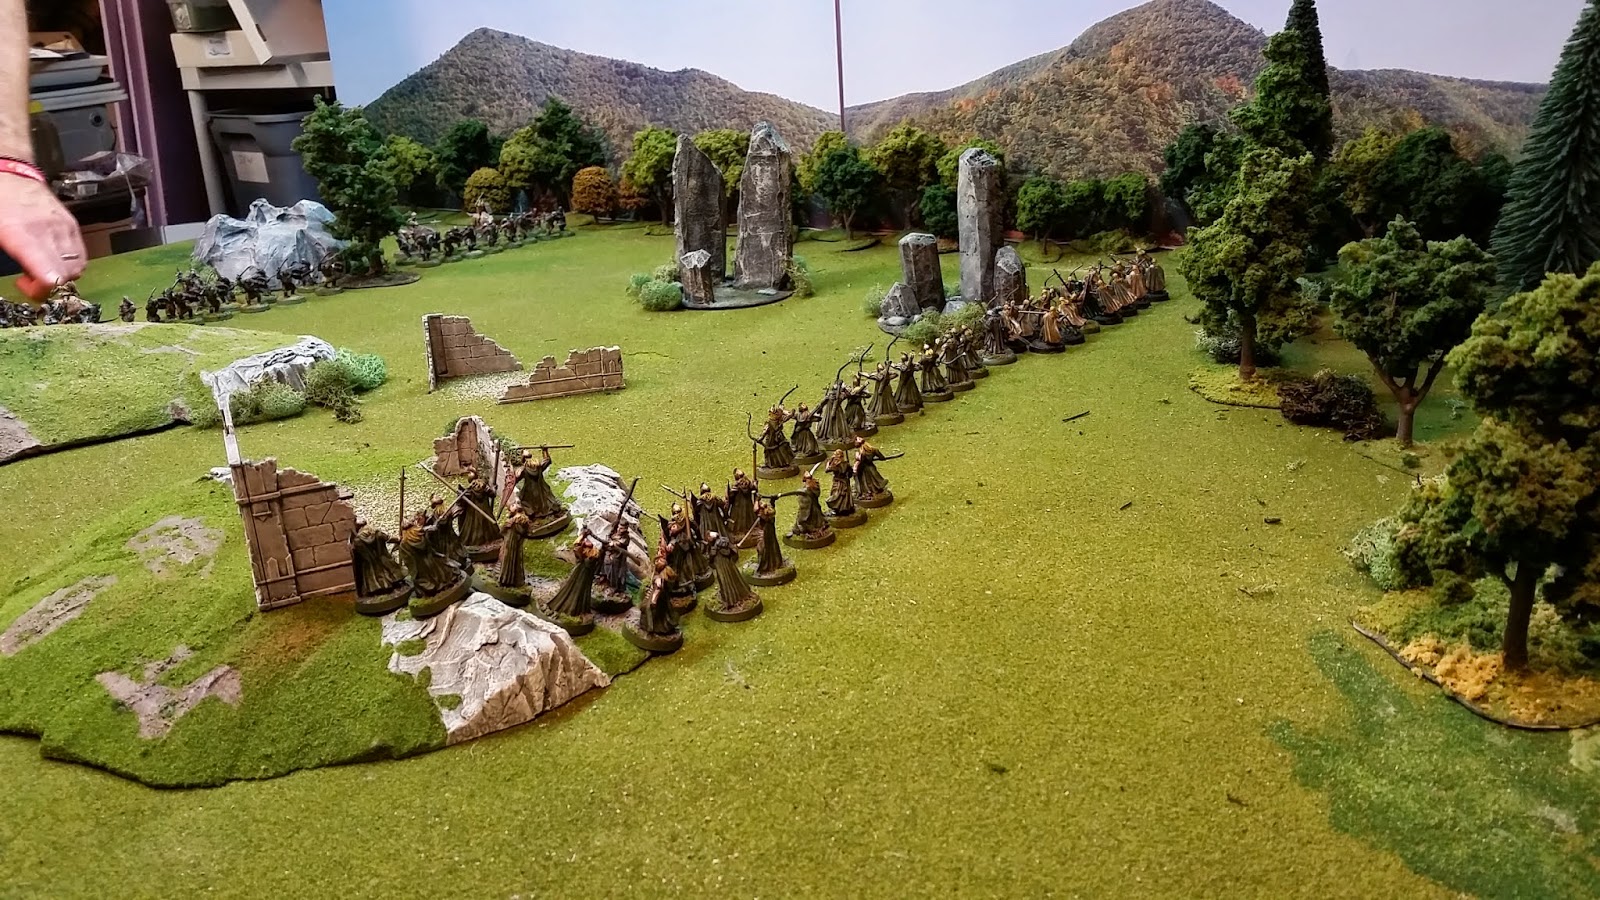
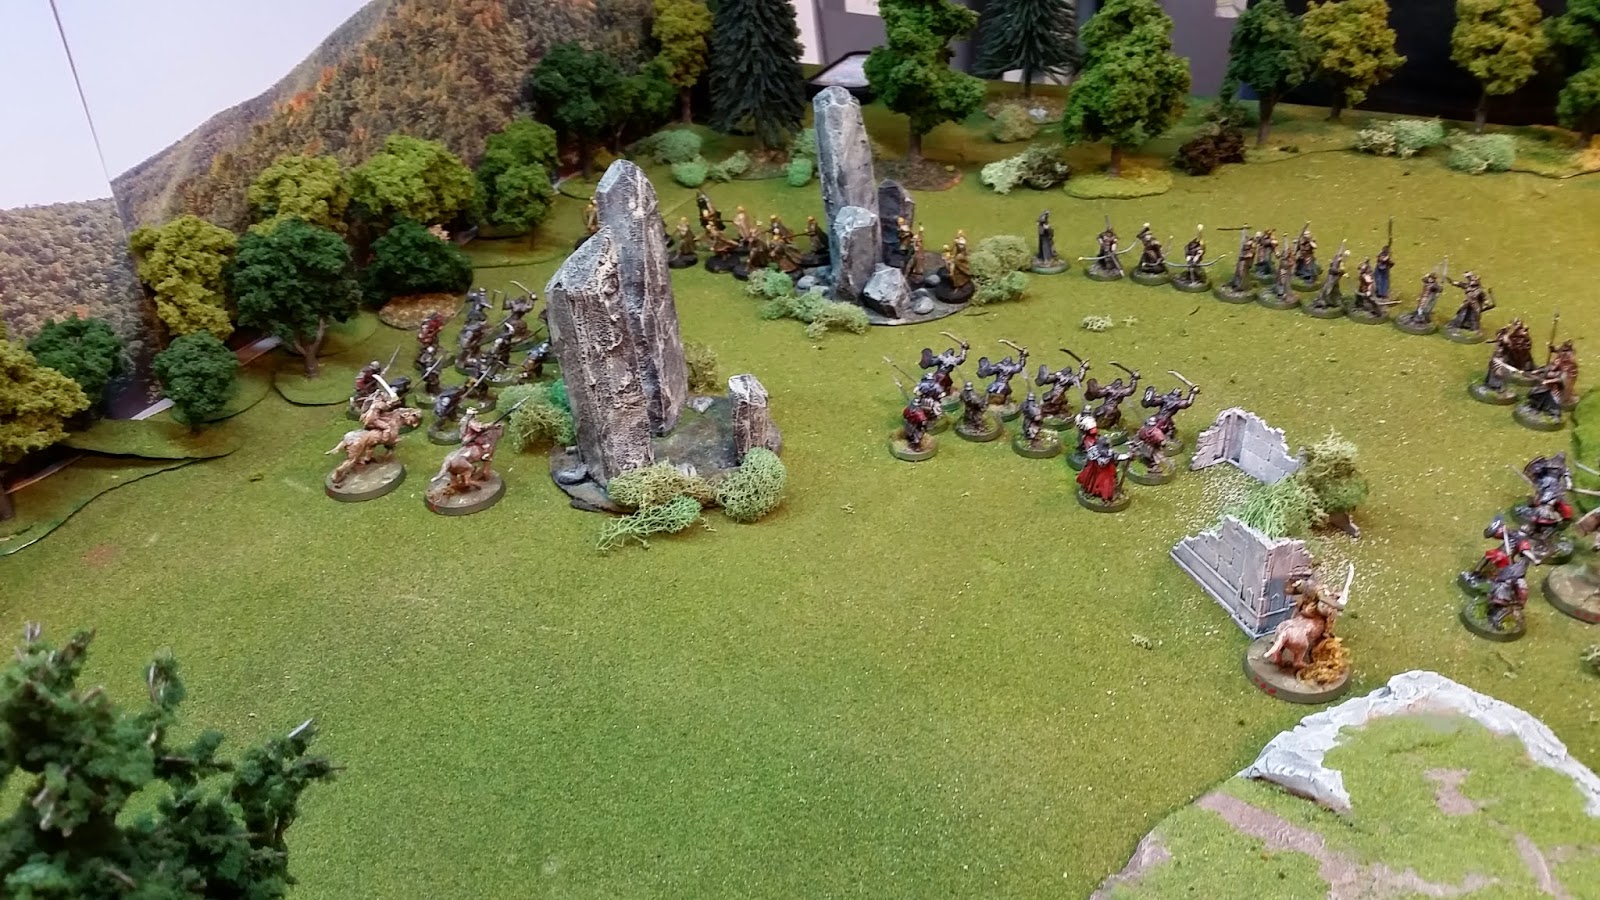
Back of Elf line looking towards the Orcs.


 Orc Left side of line. Front Rank, Shield and Sword, back rank Spears.


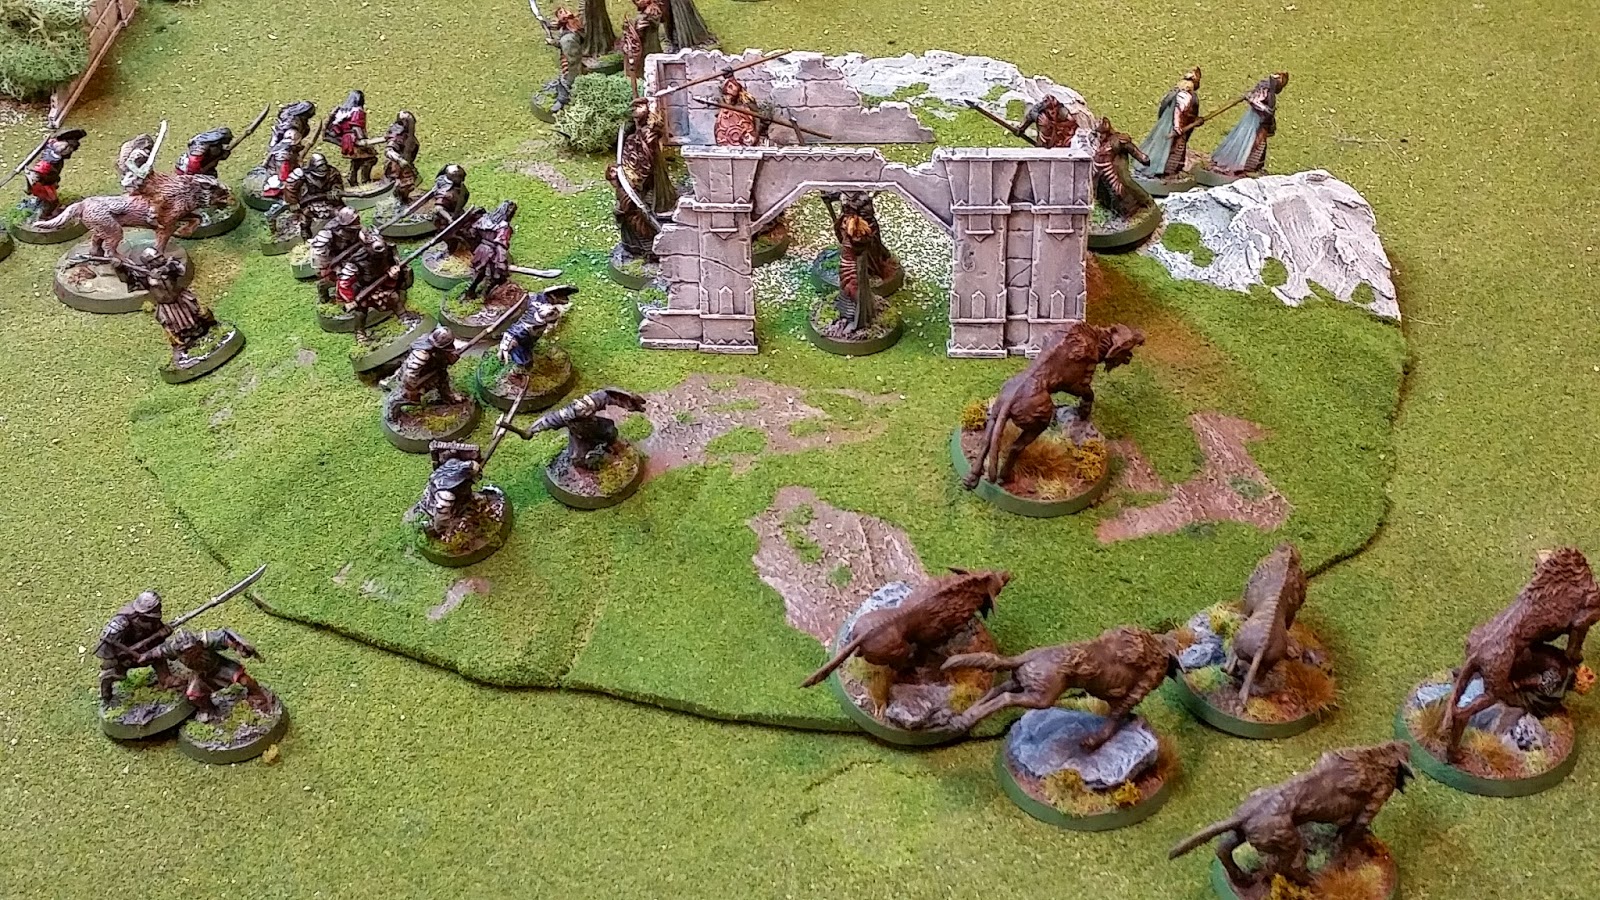
Orc right flank. Morannon Orcs in center, then more spear and shield guys. On the far right are my newly untried Wargs.

The terrain was wide open, he had bows, I didn't. My only choice was to go straight at him as quick as I could. I think I spent 3 turns marching under bow fire. Lost 9 or 10 orcs closing the gap.


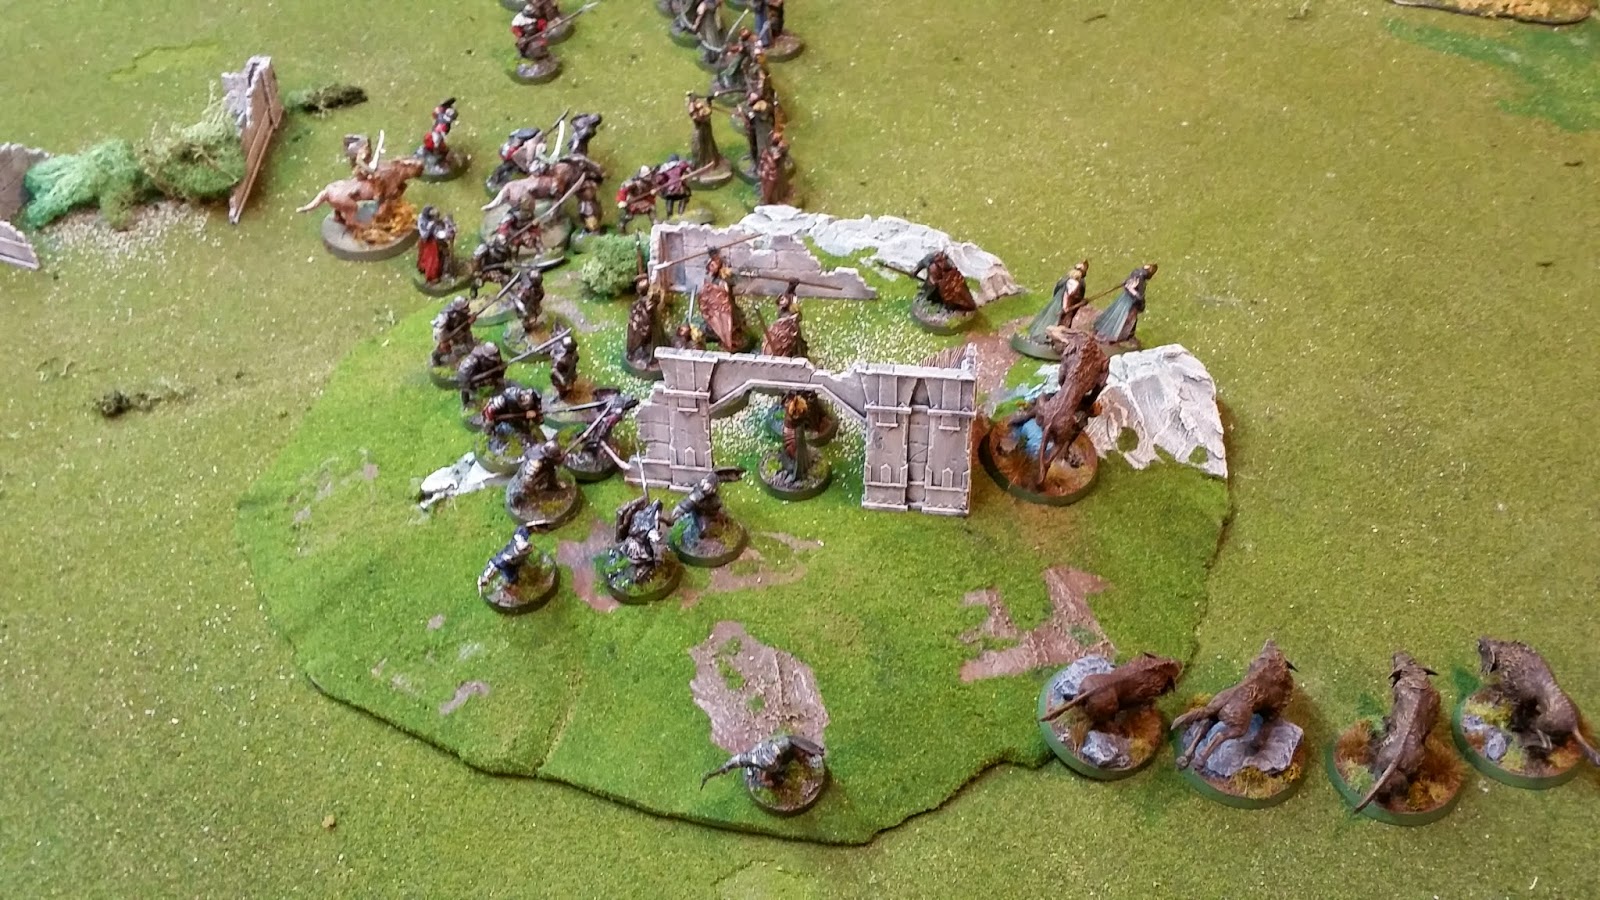
Getting close now.


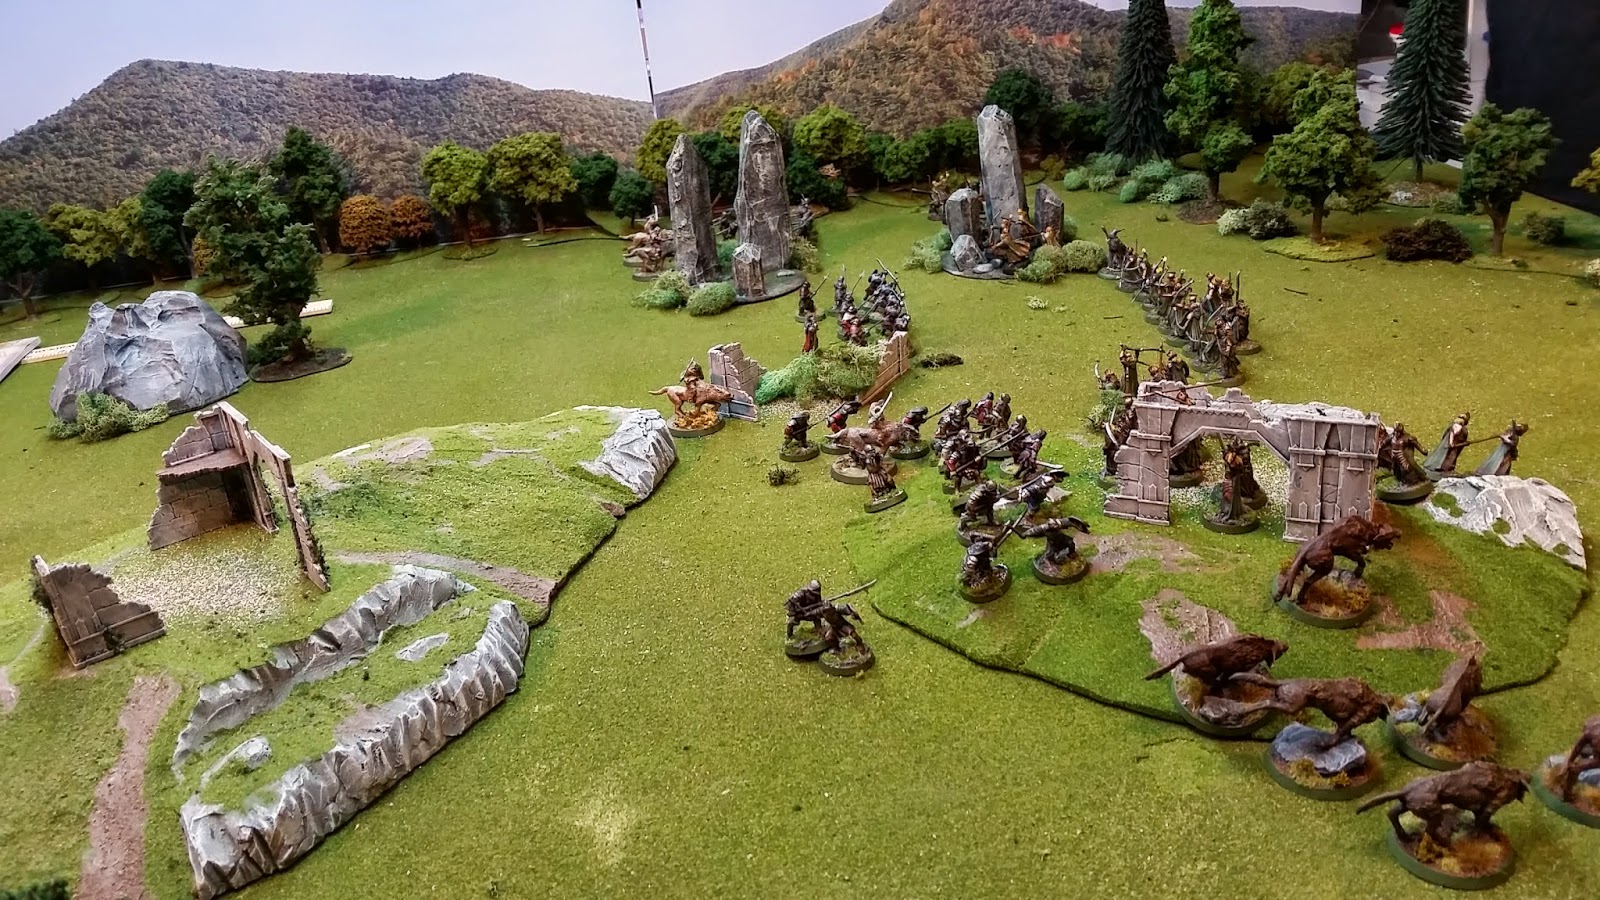
 Wargs rounding the hill.


 And we finally clash.


Not many Morannon Orcs left. At this point the combat got pretty hot, so I forgot to take pictures. I took a lot of losses  crossing the field but now I had some good numbers in contact.


I cleared the ruins and broke up his center section. On the far side it was back and forth with the wood elves. I did very well in the melee combats but I could not make up the damage done crossing the field. I broke at 29 dead and he was 3 away from breaking. It was a good fight and we had fun.

I'm not sure what I could have done differently. The ground was too open. I suppose I could have gone up the right side in the woods, but then he would have had all the time in the world to wheel his line to compensate.

The wargs were not the killing machines I had envisioned. Either I needed more or they would be better with riders. They were weak. I would have rather had a troll or something. They did help out flank the Elves in the ruins, but one on one, Elves were much better.

The one thing I think I did right was put all my Captains on Wargs. That made them very useful for smashing into the battle at critical moments. It might have helped if I rememberd the extra attack for charging cav.

Anyway, good fight, lessons learned and fun was had. I also got to put out my Scenic backdrops on the side of the battle table.

Xin